

By James Kash
Butter is one of the milk cow’s best by-products. Good on a hot biscuit with jam or as the secret ingredient to your finest meals, butter is one of the most useful products in your kitchen. Traditionally, butter was made after the cow’s milk had set and some of the cream from the fresh unhomogenized milk rose to the top and was scooped off. It was then saved and collected until a churnin’ was ready to go. At least that was what Granny and Papaw did.
Most homesteaders that are blessed with a milk cow still make their own butter. But folks without a cow still want to taste that natural, rich food of yesteryear. Luckily, it’s fairly easy to make fresh butter and buttermilk even without owning a cow.
Equipment and ingredients
Butter can be churned in an old-fashioned crock, an electric churn, a hand-crank churn, a Mason jar with a marble, or it can be whipped in a blender or kitchen gadget. I much prefer the texture and taste of the butter made in the crocks (and the nostalgia it evokes). It requires no electricity, just old-fashioned elbow grease.
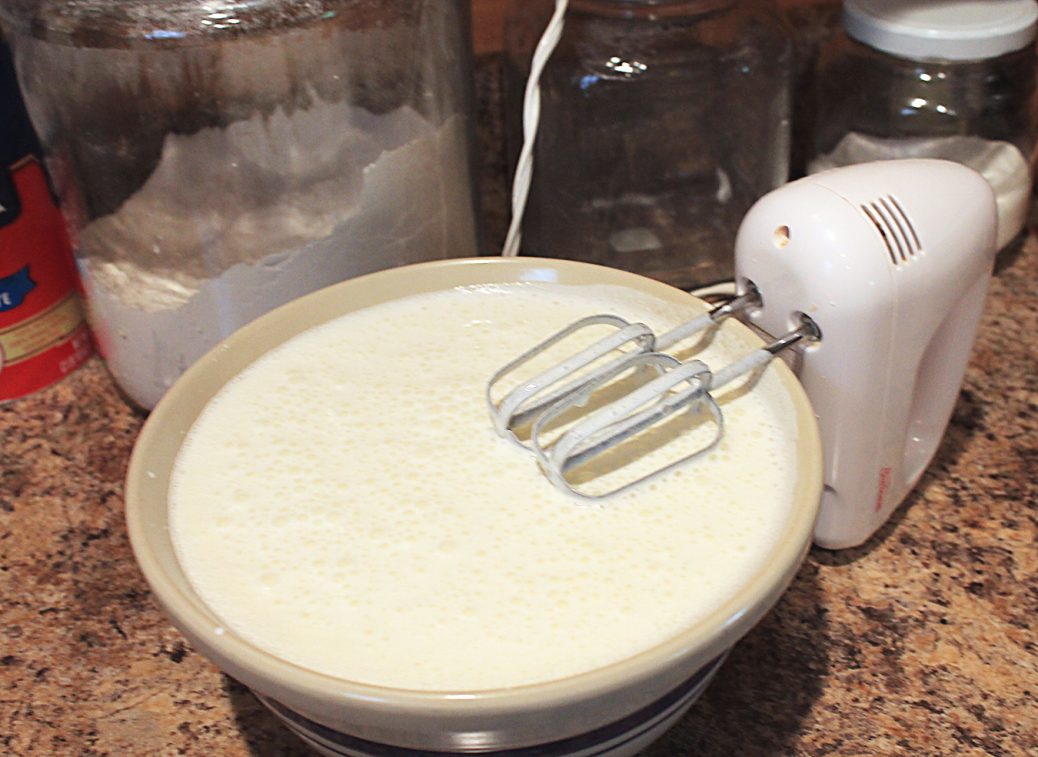
Just pour in the cream, and whip.
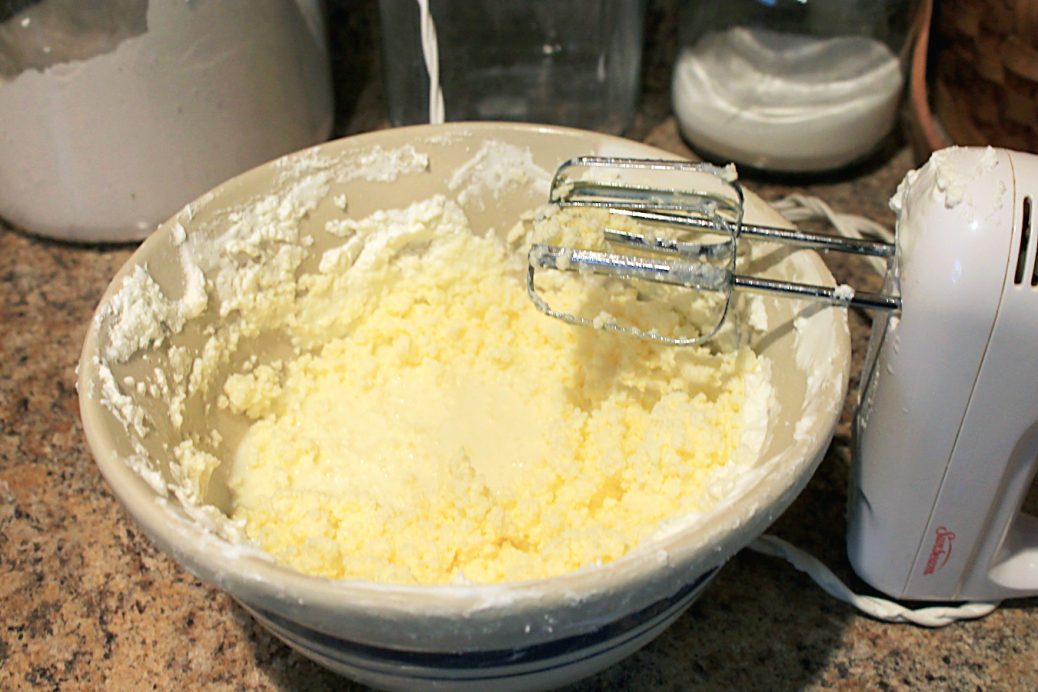
As you can see, an electric mixer works just fine for making butter.
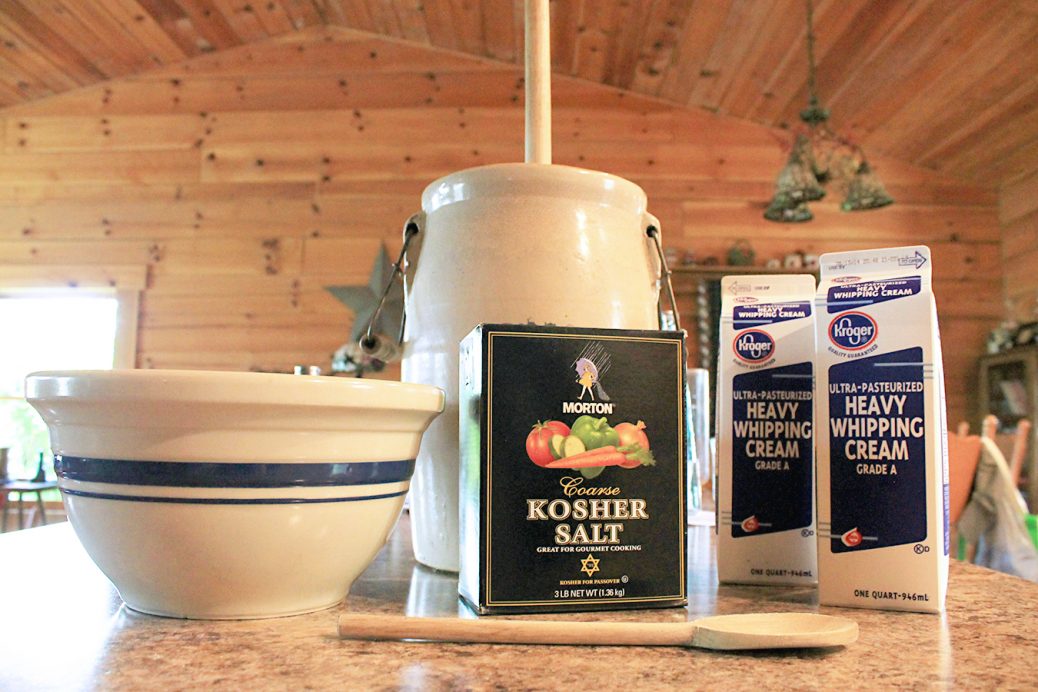
The most important ingredient in butter is the heavy whipping cream. This is usually a pint or a quart of heavy cream skimmed from milk. It can be found in almost all grocery stores for a couple of dollars, or you can acquire it from local dairy farmers. If you want to make buttermilk as well, you will need a gallon of whole homogenized milk and about a pint of buttermilk. If you are making salted butter, you will need a small amount of table salt to work into the butter.
You will need a large glass bowl (to work it in), a plastic strainer, and a spoon or utensil (to work it with). You will also need a container to put the finished product in.
Making butter
There are two types of butter — sweet cream butter or cultured butter. Sweet cream butter is most common in grocery stores; cultured butter is less common. Cultured butter takes longer to make and has a distinct flavor.
Sweet cream butter: First, empty the heavy whipping cream into the container you plan to make it in. I usually use two quarts of cream. Depending on your device, place plastic wrap around the top since it can get a little messy. If you are using a crock to make it you may also want to set the churn onto a towel or in a pan to catch any mess. I like to wait about 30 minutes to let the cream warm up a little bit, then I begin to churn my cream. Churning takes a while, so I like to listen to the radio while I do this. After about 20 to 30 minutes, depending on how much cream you have (and your churning method), the cream should begin to thicken. This will soon be whipped cream. Continue churning, checking on your cream from time to time. Soon you should see little globs of butter. Continue churning for about five more minutes or until the butter has fully formed.
Now, take a slotted spoon and remove the butter from the milk. After all the globs of butter have been removed, the liquid left is the buttermilk. Pour the buttermilk into containers and store for several weeks.
Cultured butter (with buttermilk): First, empty two quarts of heavy whipping cream, a pint of buttermilk, and a gallon of milk into the churn or blender. Depending on your method, cover the top to keep insects, dust, etc. out of the cream. Set this in a place where it will not be bothered for 15 to 20 hours. After the time has elapsed, begin to churn your cream and milk. This will be clabbered (thickened and curdled) and will smell like it too, but that is what makes your buttermilk and butter taste so good. After 30 to 40 minutes, depending on how much cream and milk you have (and your churning method), the cream near the top should start to thicken. Continue the churning, checking on your cream from time to time. Soon you should see little globs of butter forming. Continue for about five more minutes or until the butter has fully formed.
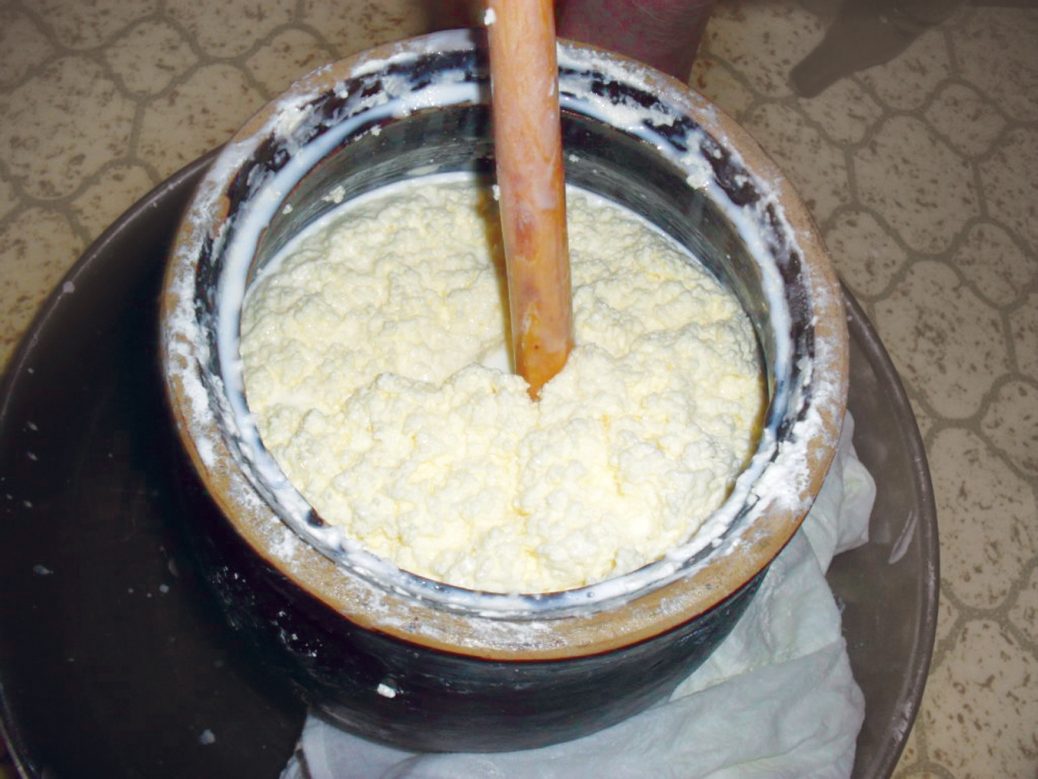
I prefer using an old-fashioned churn to make butter.
Working and storing the butter
Whether you made sweet cream butter or cultured butter, the butter now has to be washed and worked. First, scoop the butter into a bowl, put it in a strainer, and let the moisture drain out of the butter. Wait a few minutes, return it to the bowl, and use your spoon to work the butter. To do this, gently stir and mash it at the same time, continuing until most of the moisture is out.
Drain off the liquid that has accumulated, go to the sink, turn on some cold water (as cold as it can be), and gently wash the butter. Drain off the water and work the butter with your hands, again getting out most of the moisture. This is essential because it helps the butter keep longer; the moisture causes it to go rancid. Continue until most of the moisture has been worked out.
After the butter has been worked and drained, it needs to be prepared for storage. I use plastic containers, but I’ve also used butter molds; these can be a variety of sizes from 4 to 16 ounces. For the butter to successfully stabilize in the mold, you will need to spread the butter into your mold and freeze it. This helps it retain its shape after it is removed.
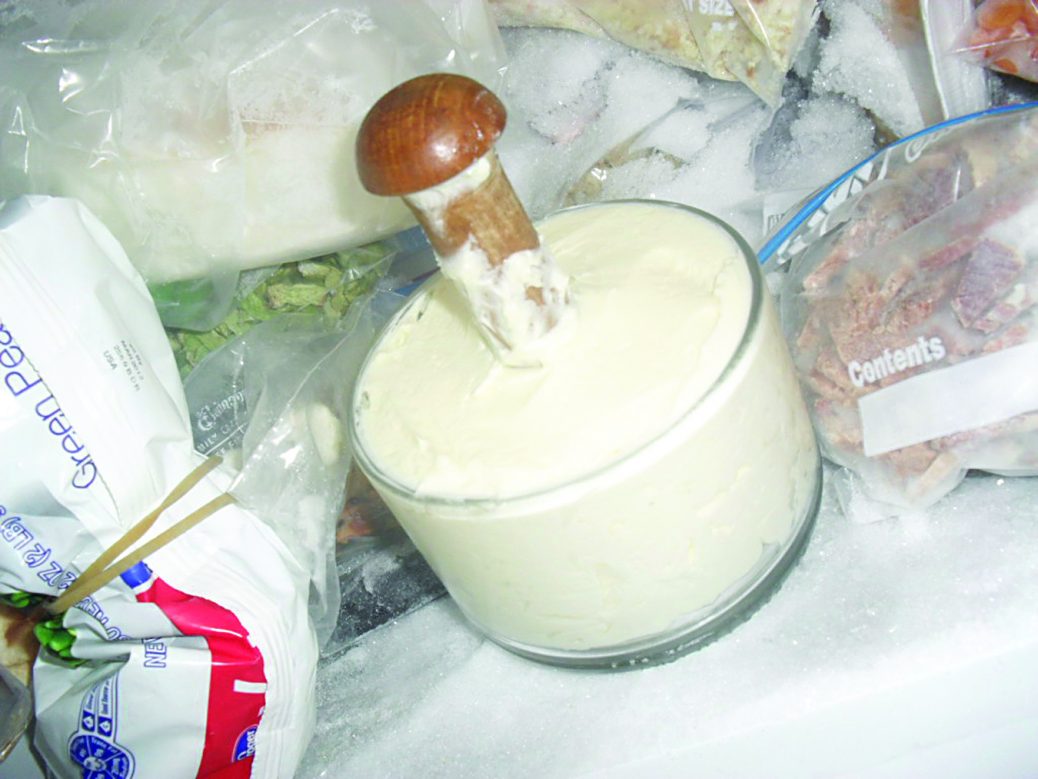
Freezing the butter helps it to retain its shape after it is removed from a mold.
Butter can be stored in the refrigerator for several weeks or left in a covered dish on the table for a week or two (if you are like us and use a lot of butter on toast or biscuits). For long-term storage, butter freezes very well. Just place in an airtight container (canning jar, plastic tub, etc.) after it has been worked; it will keep for around six months or more.
If you make butter, you’ll have a lot of buttermilk left over. After all of the butter has been removed from the buttermilk, you can funnel the fresh buttermilk into clean Mason jars or recycled milk jugs. Store in the refrigerator; it will keep for several weeks.
Making buttermilk
If you’ve got a craving for buttermilk, but haven’t made butter recently, don’t worry. It’s really easy to make your own. You will need a large container (churn, crock, jar, etc.), a cup of buttermilk (which acts as a starter), and a gallon of whole milk. Stir together the milk and the cup of buttermilk. Cover the container, and let set in a fairly warm place overnight. This mix will look and smell clabbered. Empty this into a storage container such as a recycled milk jug or Mason jar. This will keep for several weeks. Once you have made it the first time, you will be able to make it continually using a cup of buttermilk from the last batch you made.
Making sour cream
Sour cream is also surprisingly easy to make. To make sour cream, simply take two cups of thick cream, and place into a clean, sterilized jar. Add ½ cup of cultured buttermilk to the cream. Stir well, place a lid onto the jar (I prefer the white screw-on plastic caps), and shake the mixture. Let stand in a warm place for around 18 hours. Refrigerate after that, and use as you would store-bought sour cream.
Recipes using fresh buttermilk and butter
If you have never had these dairy products fresh, you are sure in for a treat. The butter has the best flavor and the buttermilk gives baked goods that special extra flavor. Here are a few of our family’s recipes.
Homemade biscuits
2 cups flour
2 tsp. baking powder
1 Tbsp. sugar
½ tsp. salt
1/3 cup shortening or lard
¾ cup buttermilk
Mix dry ingredients in mixing bowl; whisk together. Cut in lard or shortening until the dry ingredients are crumbly. Pour in buttermilk, and mix until blended. Turn out dough onto a floured surface and lightly knead. Roll out and cut biscuits with cutter or jar ring. Bake at 475° F for 13 minutes or until browned. Serve with homemade jam or butter.
Buttermilk pancakes:
1¼ cups flour
2 tsp. baking powder
1 Tbsp. sugar
½ tsp. baking soda
½ tsp. salt
1 egg, beaten
1 cup buttermilk
2 Tbsp. melted butter
Whisk dry ingredients together. In a separate container, mix egg, buttermilk, and butter together. Combine and mix well. Fry on a hot, greased surface. Serve with maple syrup, jam, or powdered sugar. This batter tends to be a little thick; you may need to add a little water to reach a desirable consistency.
Cornbread
2 cups cornmeal
½ cup flour
½ tsp. salt
1 Tbsp. baking powder
½ tsp. baking soda
2 cups buttermilk
2 eggs, beaten
3 Tbsp. melted butter
Whisk dry ingredients together. Add buttermilk and mix. Add beaten eggs and melted butter, then mix very well. Pour into a greased cast iron skillet, and bake at 425° F for 25 minutes or until golden brown.
Garlic butter
butter
garlic powder
chives (optional)
Soften butter until workable with a spoon. Sprinkle in garlic powder and chives, whip. Repeat this until desired taste. Refrigerate until use. This is very good baked in or on top of biscuits and served with spaghetti or lasagna.
Conclusion
Most homesteaders today do not have a dairy source on their property. But that doesn’t mean that we shouldn’t enjoy all the benefits — fresh butter and buttermilk. They are so easy to make, everyone should do it. Not to mention they are oh-so-good to cook with. Making butter is a great skill no cook or homesteader should be without.
James Kash? I believe I know you! Thanks so much for the recipe and directions!! Been many years since I made butter. Do you have cow’s milk for sale?
I tried this. I just used a cheap brand of heavy cream it made butter and it is good but its white any reason for it to be white. I am 72 yrs old now hut as a kid coming up I churned many pound of butter for my mom. thank you for these recipes
You don’t say if the heavy whipping cream can be ultra pasteurized. Every recipe I’v found asks that it not be ultra pasteurized. I’ve tried to make butter with the ultra pasteurized a couple of times and it never works. Of course the ultra pasteurized is all I can get.