
By Ilene Duffy
I really enjoy spending quiet time in my vegetable garden. Preparing the soil in the spring, planning where the vegetables will go, turning the compost pile and finding tons of worms, even weeding to keep a tidy garden are all enjoyable tasks. Then in the fall, after everything gets harvested, my husband, Dave, helps me turn the soil over and gather leaves to spread and churn in to prepare for the winter rains.
If all goes well, I’ll have plenty of pumpkins and winter squash to preserve for another year’s worth of pies, soups, and side dishes.
Growing pumpkins
Pumpkins are easy to grow. I buy fresh sugar pumpkin seeds each year, even if I have some left over from last year. Pumpkin seeds last for many years if kept dry, but I buy more anyway. To plant, I make a mound of well-tilled soil about 18 inches in diameter and about 6 inches tall. I put about six seeds on top of the mound, placing them as far apart as possible. I make a hole with my index finger next to each seed, then put the seed in the hole so that it is one inch below the surface. I cover the seed with soil and pat it down gently, then water the mound daily (unless it rains) until the plants emerge. I continue to give the new growth a bit of water every day for at least a week, then a watering every couple of days. If warm weather hits, it doesn’t take long before these small plants grow large, elephant-ear-sized leaves.
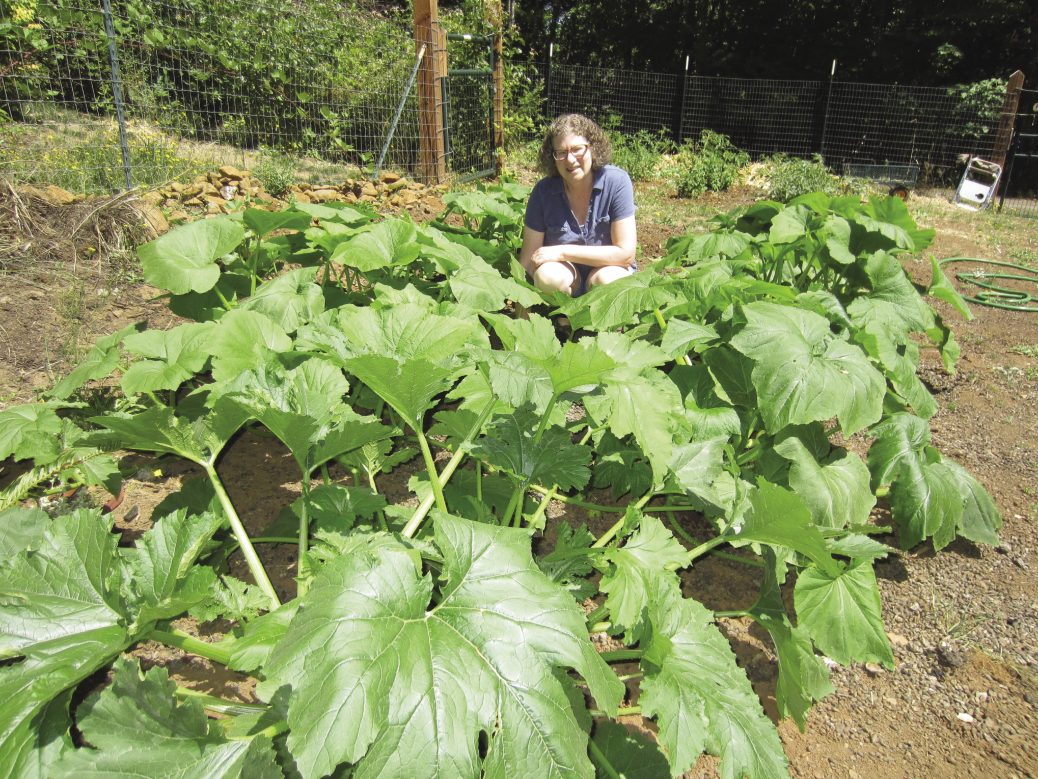
Pumpkins like a lot of room to spread, which seems to be something I learn every year since I invariably plant them and other squash too closely together. The bad news is it gets harder and harder to get in between the plants to harvest the ripening produce, but the good news is those large leaves keep the ground shaded, moist, and weed-free.
If the weather cooperates here in northern Oregon, I can harvest most of the pumpkins in October, leaving some on the vines well into November. I don’t have a root cellar, so I use the pumpkins as I pick them, and freeze the rest.
Freezing the purée
My family’s favorite dessert has always been pumpkin pie. Last year’s garden was such a huge success in that department. I intentionally grew several mounds of pumpkins, and many of my “compost surprise” plants also turned out to be hybrids of winter squashes. With so many pumpkins and squash to preserve, I needed help! So I invited my three college boys home for supper one night, and afterwards they helped me cook, mash, purée, measure, and package the pulp. We wound up with more than 30 bags for the freezer, with 1½ cups of purée in each, just the right amount needed for a pie.
But pumpkin and winter squash aren’t just for dessert. One of my favorite holiday side dishes is roasted vegetables with the main ingredient being butternut or acorn squash. And when the weather turns cooler in the fall, a pot of hot soup and freshly baked bread is perfect. Recently, I created my own version of pumpkin soup using dried beans from my pantry as well as one of those precious baggies of frozen pumpkin. It came out spicy and good with plenty left for Dave’s lunch the next day.
Bean and pumpkin soup
- 2 cups dried bean soup mix (I used a blend of 13 beans and lentils found in the bulk section of our market.)
- 2 quarts of water
- 1-2 Tbsp. olive oil
- 1 medium onion, chopped
- 1 cup celery, chopped
- ½ cup red bell pepper, chopped
- ½ cup yellow bell pepper, chopped
- 1 clove elephant garlic, chopped
- 1½ tsp. ground cumin
- 1 tsp. fresh thyme leaves
- 1 tsp. fresh oregano leaves, chopped
- 1 can (14 oz.) chicken broth
- 1½ cups pumpkin purée
- 1 tsp. salt
- 2 shakes of red pepper flakes
- 1 tsp. hot sauce (I used Sriracha.)
- 2 green onions, chopped (optional)
- ½ cup grated pepper jack cheese (optional)
Preparation:
Rinse beans, then add to a large pot and cover with at least 6 inches of water. Soak beans overnight.
Drain and rinse beans, then add to a large stock pot. Add water. Bring to a low boil, stir frequently at first, then simmer uncovered for 1-2 hours until beans are tender.
In a large pan, heat oil and add onion, celery, peppers, and garlic. Cook about 5-10 minutes until onion and celery are tender. Stir in cumin, thyme, and oregano. Add contents of pan to the beans. Stir in broth, pumpkin purée, salt, red pepper flakes, and hot sauce. Simmer gently, stirring once in a while for about ½ an hour more.
Serve in bowls topped with a bit of green onion and grated pepper jack cheese if desired.

A bit of green onion and pepper jack cheese make this warm soup even better. Add some fresh bread right out of the oven and you’ve got a very nice meal.
Poppy seed egg bread
When I make bread using my bread machine, I normally put it on the dough cycle, then take it out, gently knead the dough to release the gas, then form it into a loaf that fits into my long bread pan. I prefer the texture and size of my bread loaves compared to just allowing the bread machine to finish it off with the complete baking cycle.
I made a nice loaf of poppy seed bread in my bread machine and served it with our soup. I modified the original recipe to include whole wheat flour.
Poppy seed egg bread
- ½ cup milk
- 2 Tbsp. unsalted butter
- 3 large eggs
- 2 cups flour
- 1 cup whole wheat flour
- 1 Tbsp. sugar
- 1 Tbsp. gluten
- 1 Tbsp. oat bran
- 2 tsp. poppy seeds
- 1½ tsp. salt
- 2 tsp. bread machine yeast
Preparation:
In a 2 cup measuring cup, add milk and butter. Warm in the microwave or on the stove in a small pan until just barely warmed and the butter is soft, but not melted. Add eggs and gently mix.
In a mixing bowl, add remaining ingredients except yeast. Stir with a spoon or wire whisk to blend all the dry ingredients. Add milk mixture to the bread pan. Add flour mixture. Make a well in the flour and add yeast to the well. Start the bread machine on the dough cycle.
When the cycle is done, place the dough on a lightly floured surface and knead gently to expel gas. Grease and flour two bread loaf pans or one long loaf pan. Shape the dough as desired and place gently in the pan. Cover with a damp towel and let rise for one hour in a warm spot. Preheat oven to 350º F. Bake 25 minutes. Cool on a rack for 5 minutes, then take out of the pans to cool completely. That is unless the grandkids are visiting, in which case they’ll want big, warm pieces slathered with butter.