

By Steff Green
Mead is probably the world’s oldest alcoholic drink. Archaeologists have found remnants of mead dated to 5000 BC, and it was a popular drink in both Europe and Asia for thousands of years. The legendary drinking, feasting and boasting of warriors in the mead halls has been immortalized in numerous epic poems, and many scholars believe the origin of our term “honeymoon” stems from an ancient tradition of gifting the bride and groom a month’s worth of mead on their wedding day.
The Roman naturalist Columella gave a recipe for the sweet honey drink:
“Take rainwater kept for several years, and mix a sextarius of this water with a pound of honey. The whole is exposed to the sun for 40 days, and then left on a shelf near the fire.”
Mead has also played an important role in the mythology of ancient cultures. In Norse mythology, any man drinking the “Mead of Poetry,” brewed from the blood of a wise being called Kvasir, would imbue the drinker with the wisdom of scholars and poets.
There’s no Kvasir-blood in my mead recipe, but it still produces a delicious drink. I started brewing mead at home following a trip to Germany where I sampled many different fruit-flavored mead varieties at medieval markets. After a particularly delicious glass of cherry mead, I decided I had to learn to make this delicious nectar myself.
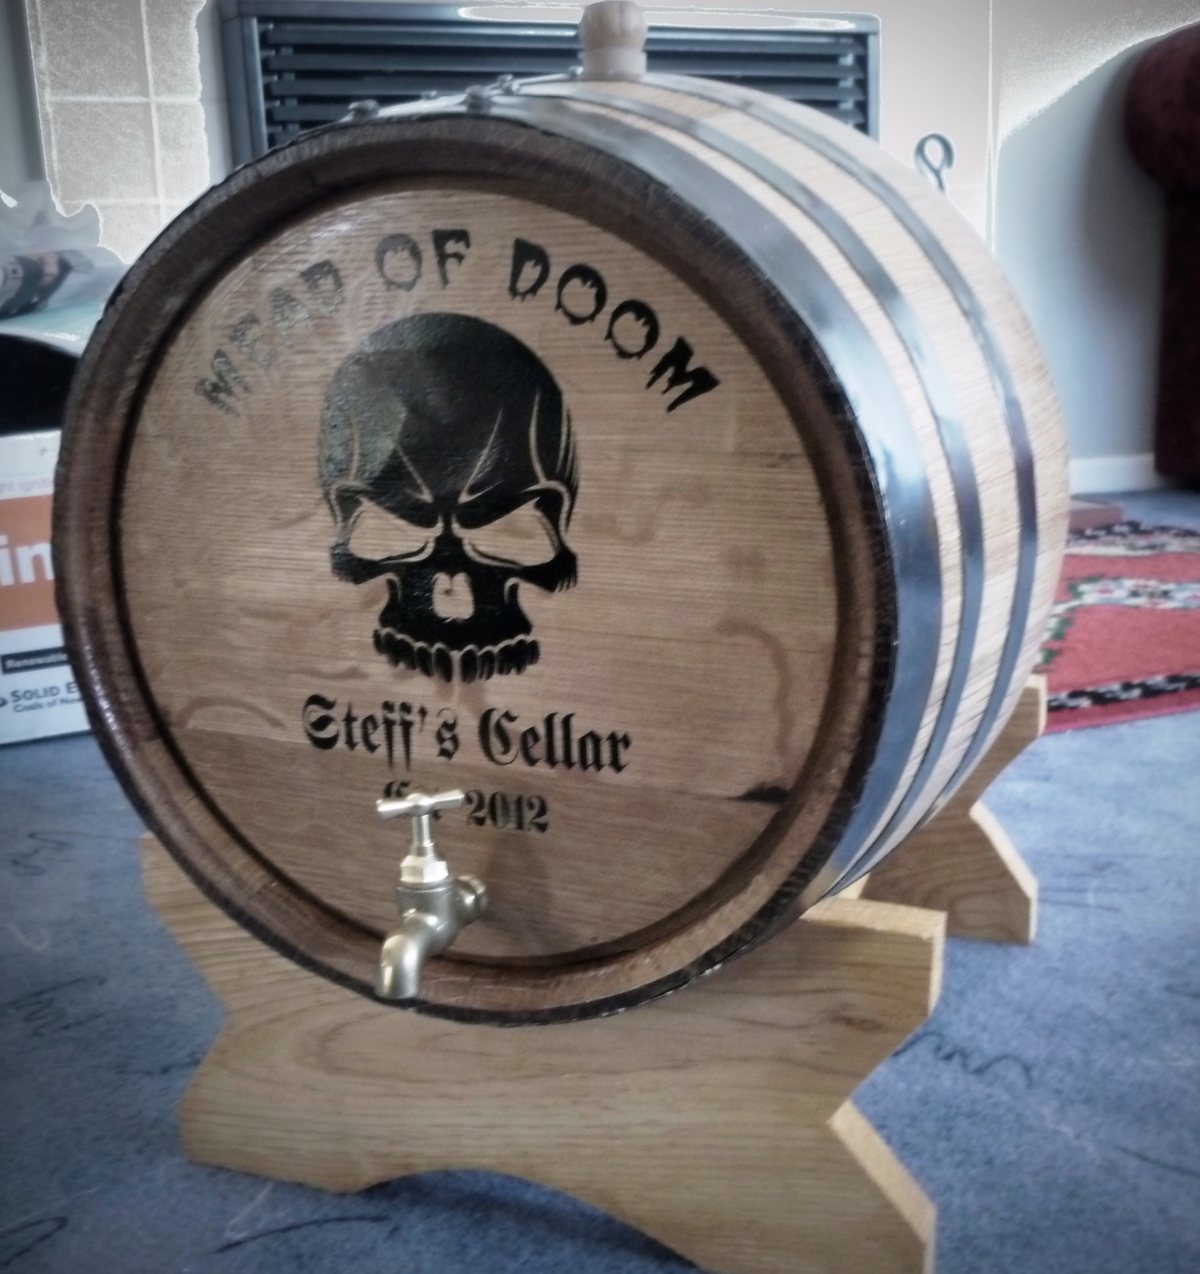
You can experiment with storing mead in oak barrels. With small oak barrels, it only takes a couple of months for the mead to take on the flavor of the wood.
Making mead at home
You may be surprised to learn that mead is a very easy drink to make at home. There are literally hundreds of different recipes and processes for making mead. The truth is, mead is a very forgiving brew, and the yeasts do all the work for you, so pretty much any recipe you try is going to produce a drinkable brew. And if you mess up, nothing is wasted: simply boil the “must” for 30 minutes and start again.
To make mead at home, you need some basic equipment, a good supply of honey, and a lot of patience. Your mead will be drinkable after a couple of months, but if you leave it for a year, you will be rewarded with the nectar of the gods!
The most important ingredient in your mead is the honey, and you’ll need a lot of it. For your mead to be successful, you need to use raw, unprocessed honey, which will still feel granular to the touch. This honey often contains remnants of bee’s wings and legs and other impurities. When you make mead, you boil the honey first to remove as many of these impurities (lees) as possible. All of the following equipment (and the yeast) can be found at a brewing supply store.
Ingredients for 30L of mead
28½ lbs. raw, unprocessed honey
20L water (distilled spring or rainwater, preferably not from a plastic container)
1 packet of champagne yeast (I use SN9)
1 packet of yeast nutrients
Basic equipment
1 30L fermentation bucket
bung and airlock
1 23L carboy or 2x20L or 4x5L demijohns
large stainless steel stock pot for boiling
long-handled wooden spoon for stirring and shifting
thermometer
sterilizing solution
30 bottles (I use old wine bottles)
notebook and pen
Optional Equipment
siphon and hose
funnel
hydrometer and test tube
campden tablets
quantities of different fruits
labels

The mead process begins by adding the honey to the pot for boiling. This brings many of the impurities of the honey to the surface where they can be skimmed away.
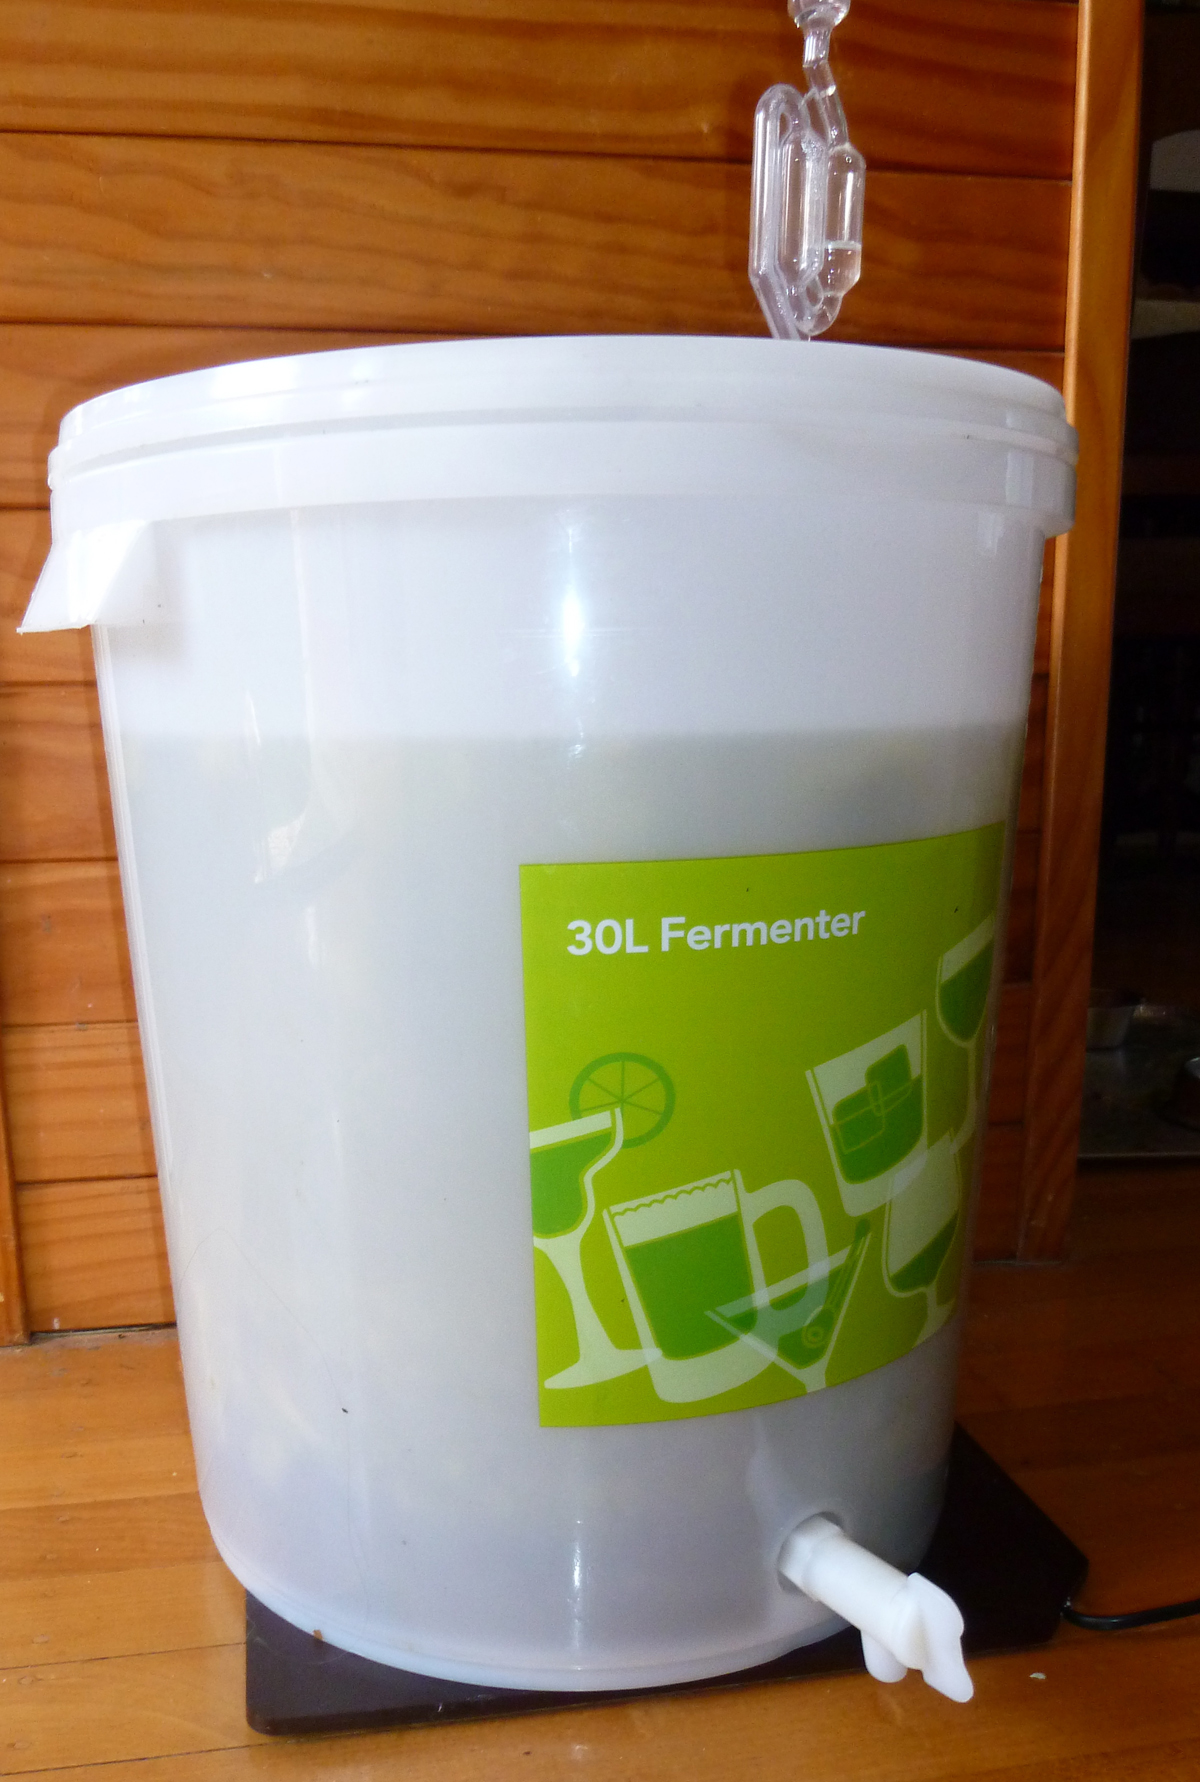
Plastic fermenting buckets can be purchased from brewing shops or online. They usually have a tap and a hole in the lid for the airlock.
Mead diary
Keep a notebook of your mead-making process. Write down the ingredients and quantities you use, the date you created your must (see #2 below), the alcohol content, the date you racked off, and anything else you feel is important. You need to keep a record of your process so you can see what went wrong or recreate your process if your mead comes out perfect.
When making mead or any other alcohol at home, it’s important to wash your hands frequently and keep all your equipment clean and sterilized. Wild yeasts and impurities in the air can taint your brew, giving you an “off” flavor.
Instructions
- First, sterilize all your equipment: your pot, wooden spoon, fermentation bucket, and tap. Leave to stand while you prepare your honey.
- Pour all the honey into the stainless steel pot. Add enough water to cover — usually 5-10L, and place on the stove. This mixture of honey and water is called the must. Bring the must to a rolling boil and leave for 30 minutes. Be careful the pot doesn’t boil over!
- After your must has boiled for 30-45 minutes, lift off the lid and have a look inside. You’ll notice a black sludge has accumulated on top of the must. This sludge is called the lees, and we don’t want it in our final mead must. Scrape off as much of this sludge as possible and discard it.
- Pour your must into your fermentation bucket and add water to top it up to 25 litres. Take a measurement with the thermometer. You need to wait until the must is room temperature before adding the yeast or you will kill your yeast. Usually, this means leaving your must overnight. Place your bucket in a warm place with the airlock on and take the temperature again in the morning.
- When the must is at room temperature, add the yeast and yeast nutrients by following the directions on the packet. The nutrients act as yeast food, ensuring that your yeast activates.
- If you want to find out the percentage of alcohol in your mead, you’ll need to use a hydrometer, which you can buy from a brewing supply store. Pour some of your must into the test tube and follow the instructions on the packet to get a reading. Write this percentage in your mead diary next to the date.
- Now, make sure your lid is secured tight, and your airlock is on. Leave your mead in a warm area with an even temperature (you don’t want it getting warm during the day and then cooling at night) for two weeks. You can place your bucket in your hot water cupboard or use a brewing heat pad.
- After a day or so you should hear bubbles in the airlock. This means your yeast is working away. The bubbles will get quite vigorous.
- When the bubbles slow down to about one bubble every 30 seconds (this should take around 2 weeks), it’s time to rack off your mead into your carboy or demijohn. The reason you do this is because mead needs to sit for a long time, and leaving it in plastic gives it a bad taste. It’s also good to have your mead in glass so you can watch it clearing.
- First, sterilize your glass containers and siphon. Next, lift the lid on your brew and siphon off your mead into the carboy or demijohn. You should be able to see lees collecting at the bottom of the bucket — don’t siphon it off with the rest of the must; you can throw it away later.
- Secure with a bung and airlock and leave the mead in a cool, dark place to clarify, such as a cupboard or fridge. It will bubble for a long time, then slowly clear.
- Every 2-3 months, rack off your mead into another carboy and discard the lees. Taste your must and take a reading with your hydrometer. You can leave your mead in the carboy until you like the taste.
- Once you’re happy with your mead, it’s time to bottle. If you’ve left it long enough, your yeasts will have eaten all the sugars and you’ll get a hydrometer reading of 0%. If not, you’ll need to add campden tablets or potassium sorbate to stop the fermentation so your bottles don’t explode! Follow the instructions on the packets.
- I use recycled screw-top wine bottles, but you could also use bottles with corks if you have a corking machine. Clean and sterilize all bottles and equipment, then use your siphon to fill each bottle before corking.
- Now your mead is ready to drink!
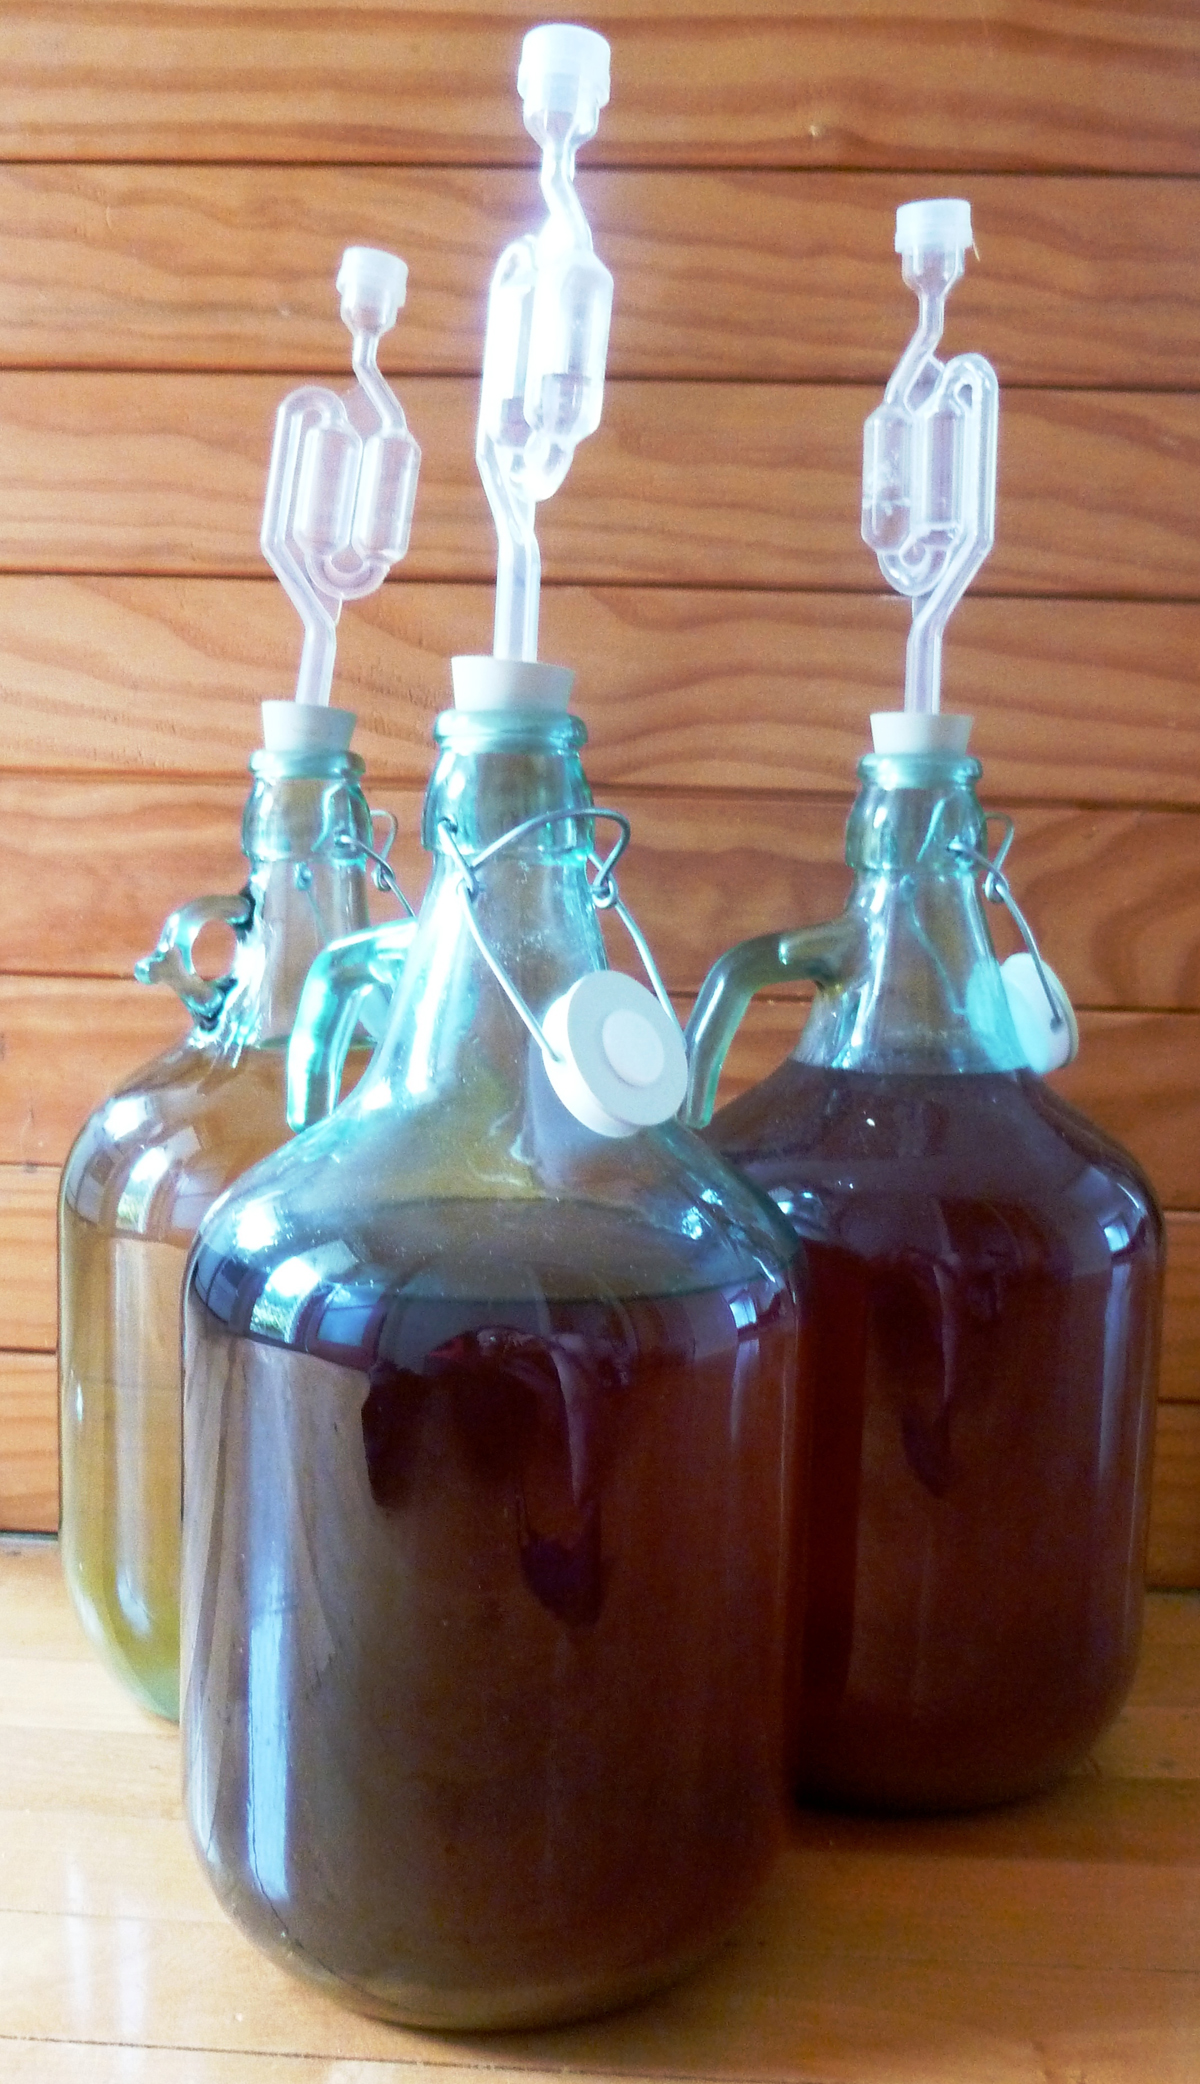
After the initial fermentation, mead is siphoned into glass carboys/demijohns for several months. Although the mead is drinkable after 1-2 months, it will taste incredible after 8-12 months.
Once you’ve made your first batch, you can experiment with different flavors of mead. You can add fruits to your must when you rack it into your carboy to create unique meads — blueberries, strawberries, apples, and pears are my favorite. Other people add spices, herbs, and even hops to produce a range of different flavors.
Mead-making is an addictive hobby and an easy way to begin learning about home brewing. A mead brew is very difficult to mess up, so it’s perfect for beginners. Remember, the longer you leave your must, the better it will taste — if you learn to be patient, you’ll be rewarded with a sweet, delectable drink.
Resources
Visit these websites for more information on mead-making.
http://www.stormthecastle.com/mead/index.htm
Will Kalif is the author behind this popular living history website which has one of the most comprehensive online guides to making mead.
http://www.gotmead.com/
A forum and resource site for beginning and serious mead makers. The main content is free but a premium membership will gain you access to the MeadZine and a range of unique recipes.
http://www.makemead.net/
Another website containing recipes and detailed instructions from hobby mead makers. Δ