

By Lucas Crouch
I’ve read a lot of articles where people give advice on gardening. However, the authors don’t grow the crops I do, they don’t have the weather I do, and I don’t have their budget or space. Nothing seems to apply. So I thought I would share some tips that work in my backyard with my garden.
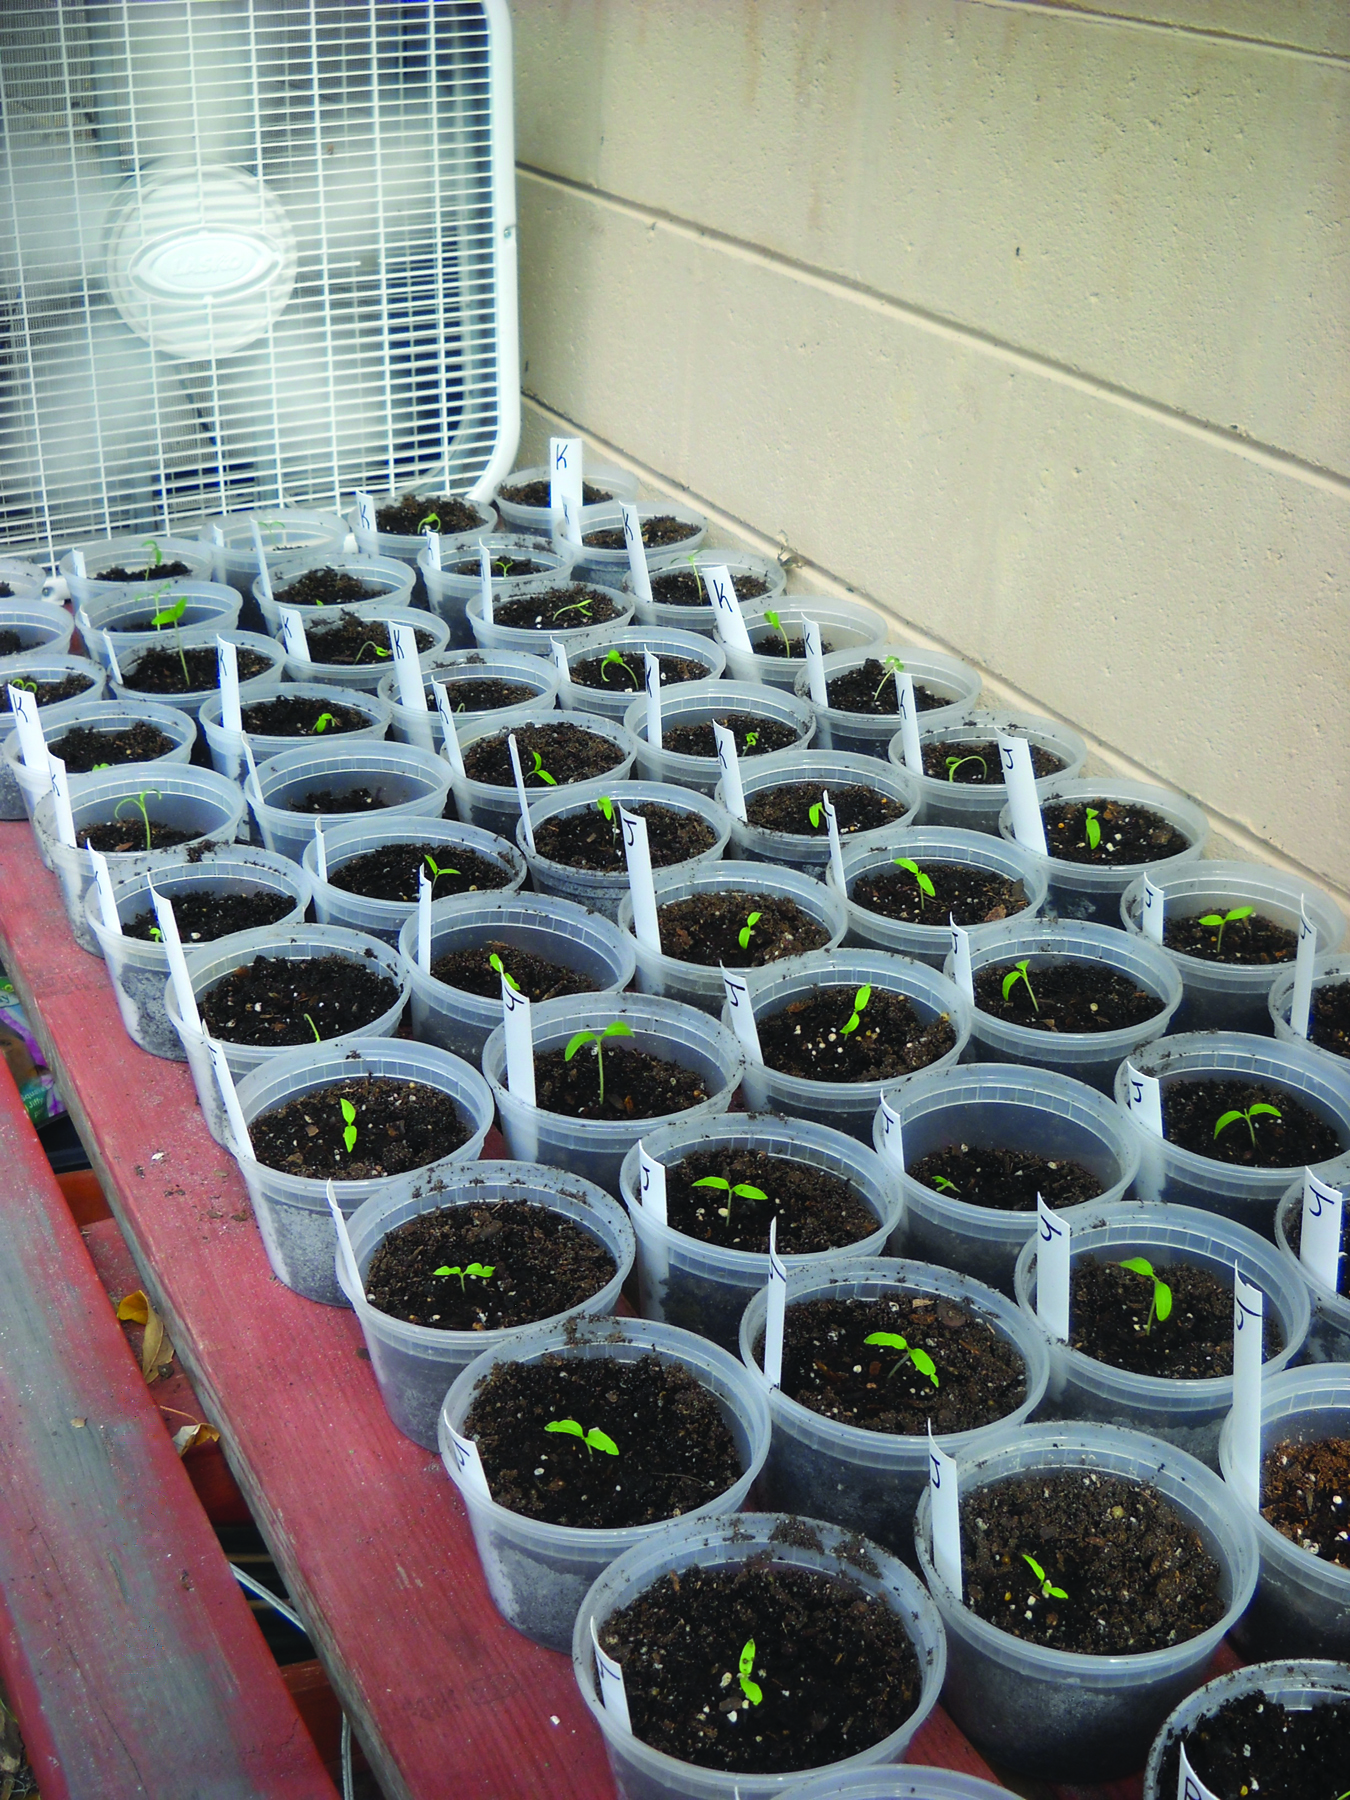
Using a fan produces a thicker stem on the seedlings, mini blind trimmings identify the seedlings, and recycled plastic cups make perfect starter pots.
Keeping pets off the plants
I share my backyard with my daughter’s pug, Sprinkles, and a calico cat named Mocha that showed up a few years ago. They both seem to enjoy lying in my garden, especially on my newly-planted seeds. After losing several dozen young plants, I had to figure out a remedy. Mocha is a mouser, and I agreed to feed her if she kept the squirrels away. I haven’t had any problems with squirrels since she showed up, so I can’t go back on our agreement. And since Sprinkles is my daughter’s pet, well, it is what it is. So I had to think of a different solution.
One day, while I was on my lunch break, it just so happened that I saw what I needed. The big box store where I work cuts mini blinds to size. The clippings are plastic, about an inch wide, of various lengths, and are just thrown away. So, after getting permission, I dug a bag’s worth out of the garbage. I stick these into the ground by my newly-planted seeds. So when the cat or dog walks through the rows, they do not step directly onto the seeds.
These tombstone-like protectors also allow me to better lay out a grid pattern for plants such as beets, carrots, bush beans, and radishes. I push them into the ground and then go back and add the seeds. It is much easier to see them than it is to see some of those tiny seeds lying on the ground.
These window blind cuttings are also good for labeling your seed cups. Write the variety on them and stick them in the cup. Then when you transplant, just put the label into the row. I have reused mine for several seasons. They are still labeled from the first time I used them. Reusable, free, and beneficial are excellent traits for supplies.
Using legumes for nitrogen
Certain plants also have traits that help me to cut costs. Legumes are usually planted between seasons. They pull nitrogen from the air and put it into the soil, replacing what has been used up by the plants the previous season. But I asked myself, “Why wait? What would happen if I plant them now?” So I tried planting beans with my tomatoes. I don’t know how much nitrogen a bush bean will feed back into the ground, but it definitely feeds more than if no bean was planted.
I plant a few beans right above the tomato’s root ball. The beans grow, pushing their roots down into the root of the tomato. All season long, these beans will feed nitrogen to the plant. I no longer have to add fertilizer in order to get nitrogen to the plant. This saves me time and money.
Adding beans to my tomatoes also serves other purposes. As the beans fill out, they make a nice ground cover. This helps with weed control, and it helps to keep the sun and wind from drying out the soil as quickly. These beans give me free fertilizer, free mulch, weed control, and food in space that would normally be vacant.
This year, I planted bush beans with everything. Even with my peppers. Companion planting guides don’t recommend mixing beans and peppers. But I transplanted my peppers in March and am still picking them in August. The beans have since died, but the peppers continue to produce for me.

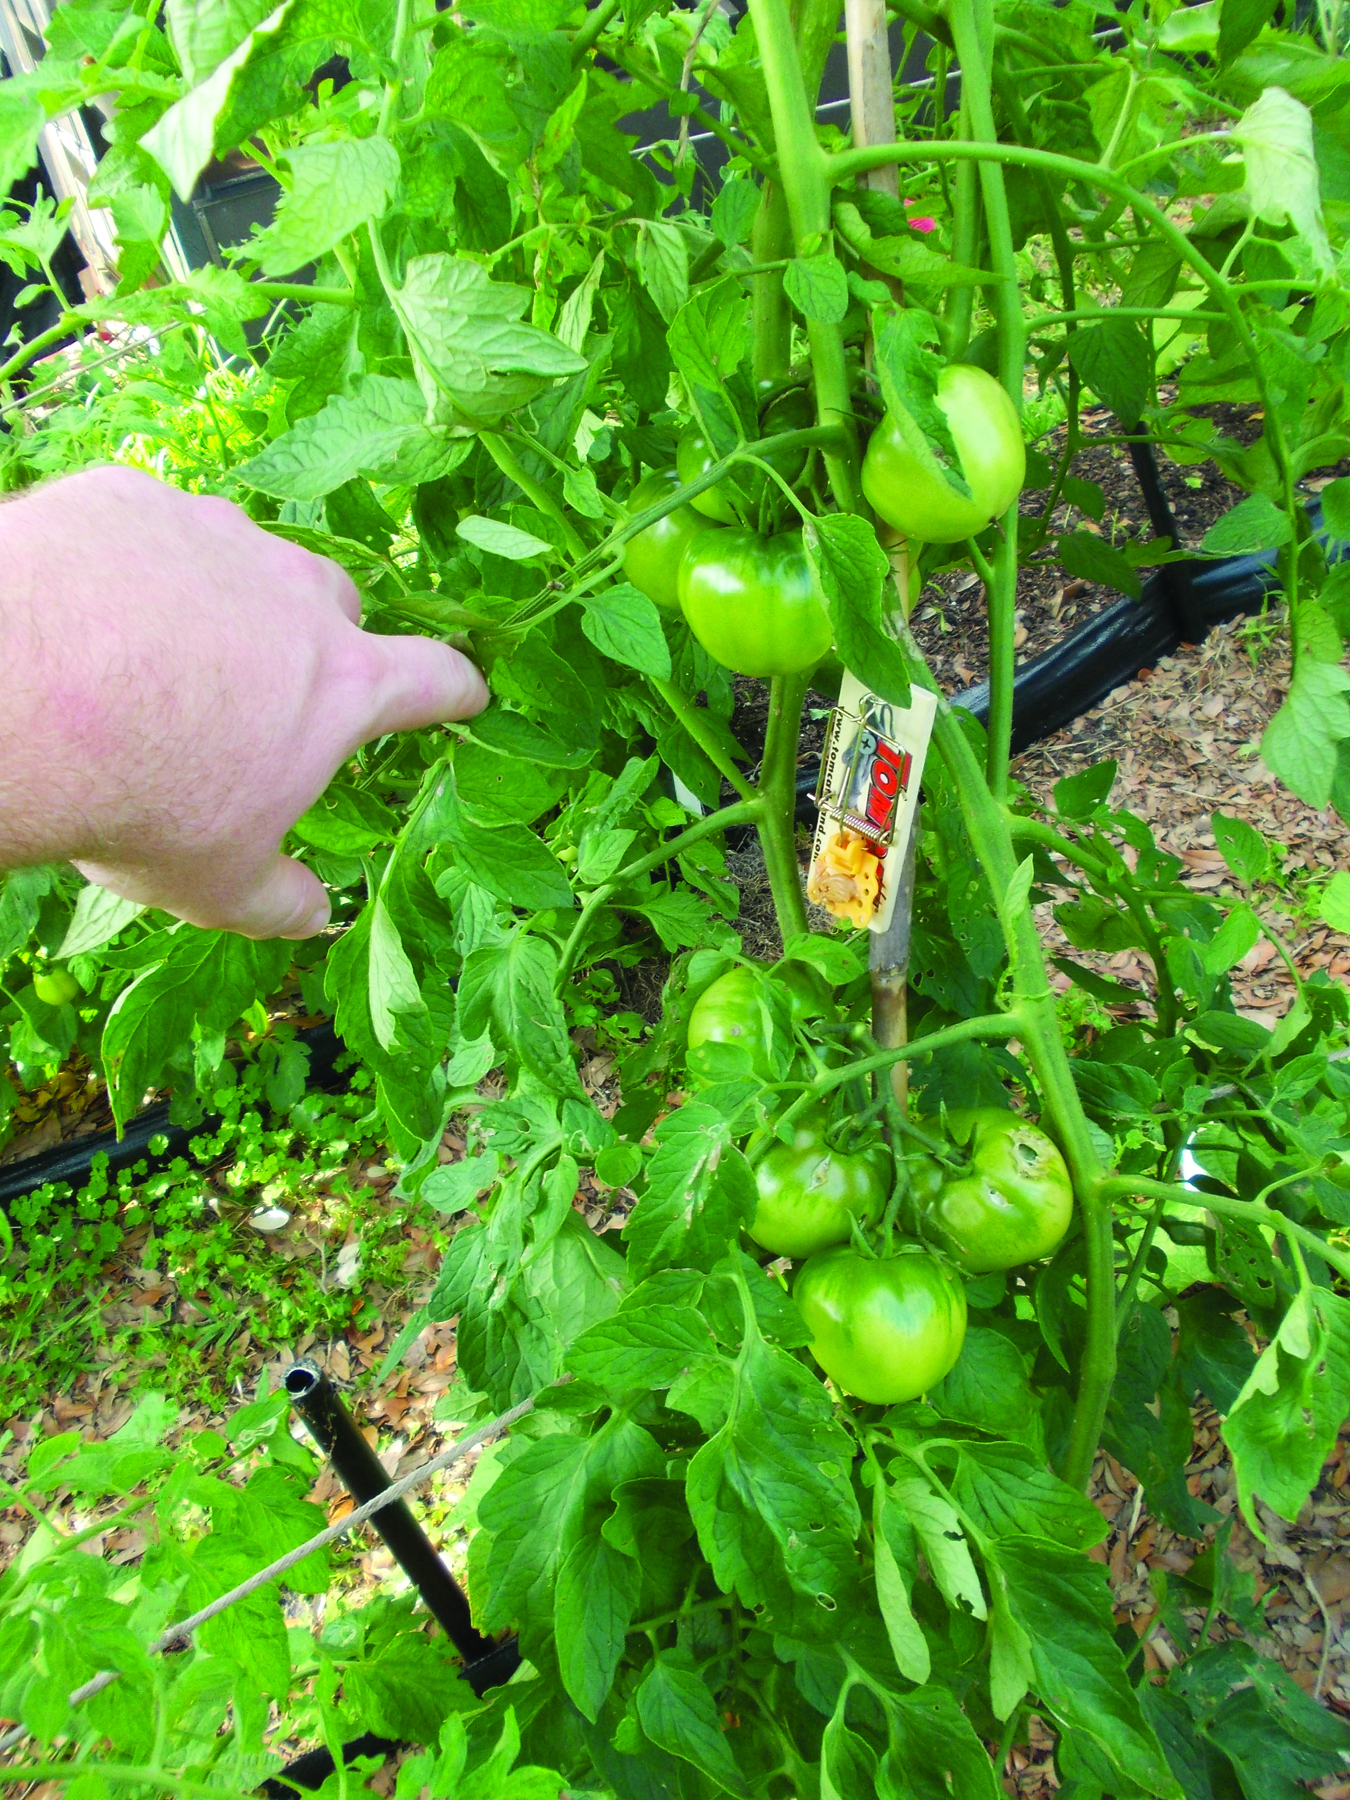
Planting your beans with your tomatoes may give the tomatoes a little boost of nitrogen. The rubber snake helps to deter birds.
Root power for tomatoes
I plant my tomatoes a little differently than most people. I start my plants from seeds, but I let them get very leggy. I prefer my plants to be at least 12 to 15 inches high. When planting, I dig a trench and lay the plant down horizontally. This puts the root and at least 6 inches of stem in the soil. The root ball, which is usually about the size of a quart jar, is planted on its side just inches below the soil.
Since anything that is buried on a tomato plant can become root, I now have the potential for a root that is a foot long and four to six inches deep. After the season is over, I usually cut the root off and leave it buried. I hope that microscopic life will continue to feed and give the worms some food while they continually fertilize my rows. But on the few I have pulled up, what I found was two root balls. Not only the original one, but also a second one below where the stem comes out of the ground. Two roots feeding nutrition and water to the plant has to be an improvement over just one.
Letting your tomato starts get 12-15 inches high allows you to plant them horizontally in a trench with just the top few leafy inches out. This long stem will produce roots and give the plant a better root system, thus making it a stronger and more productive plant.
Dealing with garden pests
I like to keep my tomatoes trimmed up about a foot off the ground. I grow mostly indeterminate varieties, so there is still another six inches of plant left to gather sunlight. It seems that the first leaves to be eaten are those that are on the ground. So by not having any leaves on the ground, bug control is easier.
But if you really want to minimize bad bugs in your garden, try this: stop using chemical fertilizer and bug spray, and plant flowers throughout your garden instead.
Let me explain — three years ago, I had a tomato plant covered in hornworms. So I sprayed it with Fels-Naptha soap. The next day, I had little green worms all over my garden. I fought them daily the rest of the season. Two years ago, I had a tomato plant that was covered with hornworms. So I pulled the plant and threw it and all the worms on it into the garbage. The next day, I had little green worms all throughout my garden.
After thinking about it, I came to a conclusion. Each season, there was one plant that became infested first. I now refer to it as the “Sacrificial Plant.” There is something about that plant that attracts worms. Whether it is the weakest plant, or just the tastiest, something attracts bad bugs to it. By forcing the bugs off that plant, they have to go to a secondary food source — the other plants in the garden. But by leaving the plant to continue growing, the worms will stay on that plant.
Don’t get me wrong; the bugs don’t get a free ride. I take my fingers and squish all the worms I can find. I work gently so as not to knock the worms off the plant and onto the ground. I miss some, but they don’t migrate from that plant.
This year it was the fourth Roma in the first row that was the Sacrificial Plant. I spent half an hour squishing bugs the first day. There were well over a hundred baby worms. The second day, I spent another 15 minutes squishing bugs. However, the worms never migrated further than the leaves of the neighboring plants that were touching. The bugs preferred the Sacrificial Plant. A coworker has tried this method and it has also worked in his garden for the last two seasons.
One season, I had a mysterious pest problem. Every night, something was eating a few of my tomatoes. Nothing I did seemed to deter whatever it was. I shaved my head and put the hair in my garden — didn’t work. A dirty sock proved useless. I even tried sleeping in the garden — no luck. I bought a live trap, but only succeeded in catching my daughter’s dog and a few upset cats. So I bought some mousetraps, baited them with peanut butter, and screwed them onto the tomato stakes (free bamboo stalks from a friend). I caught about half a dozen rats six inches long.
[If dogs or cats can get into the garden, you may want to put a mesh screen with a rat-sized hole to protect your pets from getting snapped. — Editors]
If something is munching on your tomatoes at night, try placing some mousetraps baited with peanut butter on the stakes or near the plants.
Attracting pollinators
I mentioned bad bugs earlier. But there are also good bugs. One thing good bugs do is pollinate the plants. It has taken me several years to get pollinators into my garden. The city comes through at night spraying for mosquitoes. Neighbors put chemicals on their flowers and in their yards. It was three years before I saw a ladybug or a wasp in my garden. So flowers are a must for me. This year I saw a few bees and a butterfly.
I like to keep it simple. Bad bugs reproduce on vegetables. Good bugs reproduce on flowers. Both types are needed. But if the bad bugs outnumber the good bugs, you start losing plants. By planting a lot of flowers, I give the good bugs nice homes to live in. And in return, they help take care of my garden.
For the second year in a row, I have not used any bug spray of any kind in my garden. Not even soap. I just squish the bugs I see and share with the bugs I don’t see. I don’t mind sharing. It is when they take over that I have problem with them. Yes, I lose a few vegetables. But if that means I don’t eat pesticide, then I can live with that. (Pun intended!)
Fertilizer
I prefer to be as organic as possible. And not just in dealing with bugs, but also with fertilizer. I use blood meal and bone meal. Most people are aware of these and when to use them. But something else that has made a tremendous impact on my garden is Epsom salt.
Epsom salt is a great source for magnesium. I spray a saltwater mix on the leaves of plants that are flowering in order to help set the flowers. I use this on tomatoes, peppers, beans, and eggplants. Peppers seem to be especially helped by this.
I have also seen an improvement with my tomatoes after I started using milk in my garden. I shake powdered milk in the trench where I place the root ball of my tomatoes. Powdered milk is not cheap, but I have used the same box for three seasons, and I plant 40 to 50 tomatoes. Since I started doing this, I have had no incidents of blossom end rot. Prior to using milk, I was losing up to one or two plants a week. If you look at the ingredients of blossom end rot spray, you will see calcium is a large percentage. Keep in mind that end rot can also be caused by other factors including fluctuating moisture levels. But similar to fertilizing with beans and having two roots, a little milk is better than no milk.
Compost
From time to time, I like to take my compost up a notch. Since I live a mile from the Intercoastal Waterway, I add fish to my compost. I take my cast net down to the local dock. Sometimes I catch baitfish and sometimes smokers (mullet). But I only put them into the pile when it is cooking well. I live in a subdivision and my neighbor’s bedroom is within 20 feet of the compost bin.
[Please check the legality of using cast nets in your state. — Editors]
I drop the fish in and turn the tumbler over so that they are on the bottom under a few feet of compost. Then I turn it once a day for the next day or two. After about three days, there is no evidence of any fish in the tumbler. I don’t know exactly how much nutrition fish add to the compost, but I would guess a lot based on the price of fish emulsion. Grass clippings, leaves, garden clippings, shredded paper, and fish all make nice nutritional supplements for my compost. Keep in mind, I don’t feed the plants. I feed the dirt. Organic matter is essential for good soil and a productive garden.
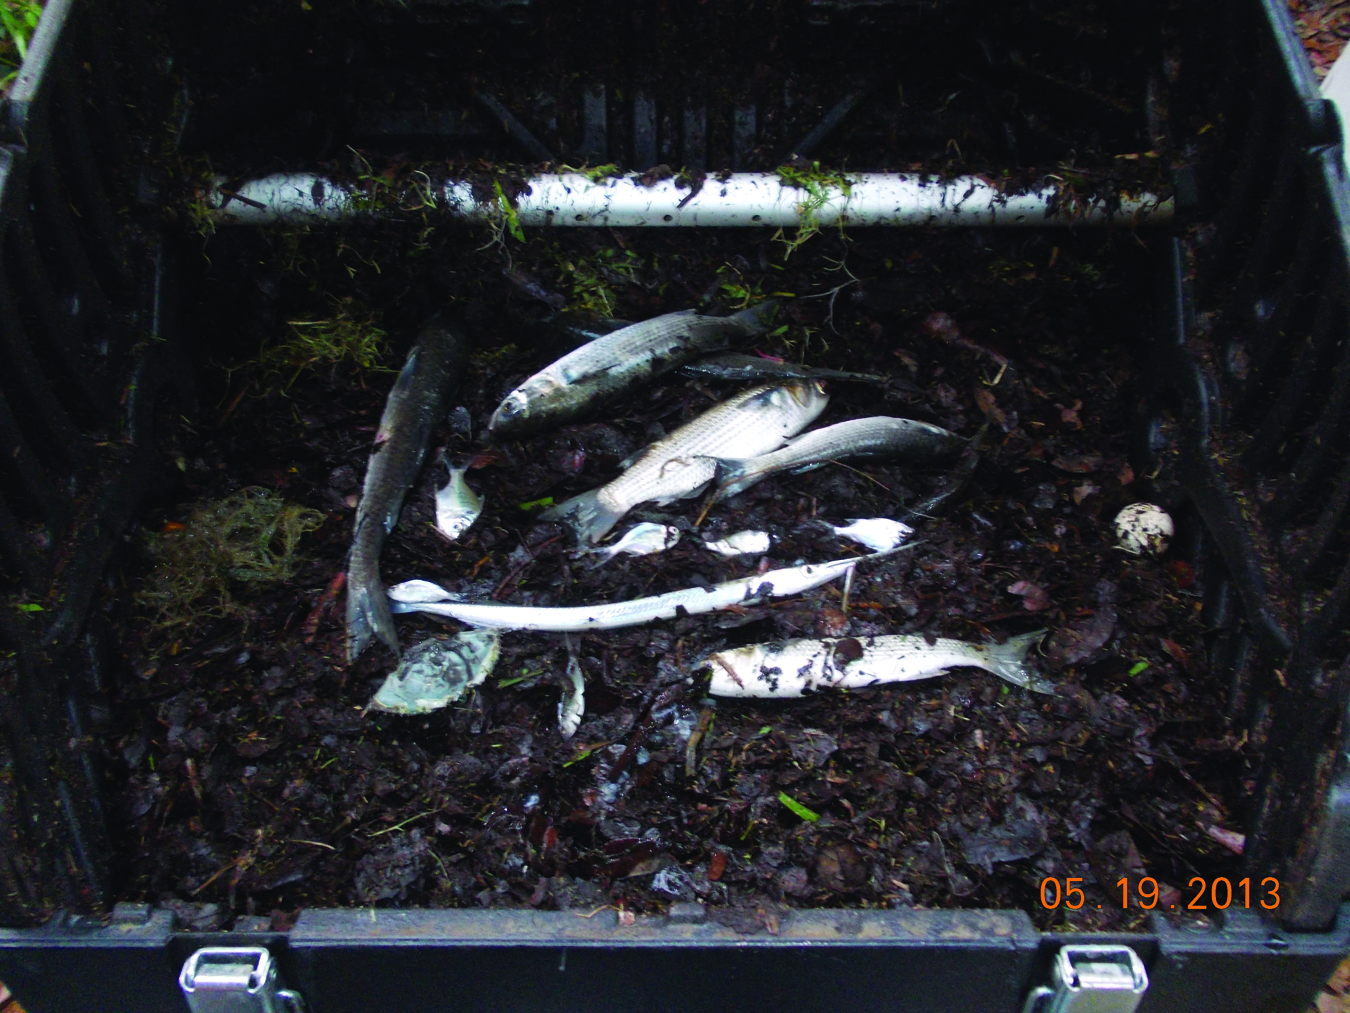
To give my compost a boost, I add fish. After three days of turning the tumbler once a day, there is no more evidence of any fish.
Work with the plants
There are some varieties of plants that have natural benefits in the way they grow. I have one plant that I just let go wild. It requires almost no maintenance. I have three beds that are specifically for growing sweet potatoes, and sweet potatoes only. My three beds become one large mass of sweet potato vines. I use a lawn mower to keep them from getting to the neighbor’s yard. I have even used a weed eater to cut them back one season when they really got out of control.
While it might look like I am being lazy and not keeping up with the garden, this mess provides a natural mulch, preventing weeds with no extra effort. But a more important benefit is that wherever a vine hits the ground, it puts down roots. They go from hills in rows to a large patch. Evenly-spaced hills will become a jungle, given time. A jungle full of great-tasting and healthy sweet potatoes.
Another great benefit of letting them grow wild is that they will put down roots in the yard. I have pulled sweet potatoes out of my yard six inches long and two inches wide. Because the yard is so compacted, they don’t grow very large in diameter. But they do grow long. I have wild shoots that pop up months after I have pulled all the ones out of the bed. I see it as free food that I didn’t have to work for. I have even used these for slips for the next season. A sweet potato that you miss will continue to grow. Once, I dug up a potato that I had missed for two seasons and it still tasted great.
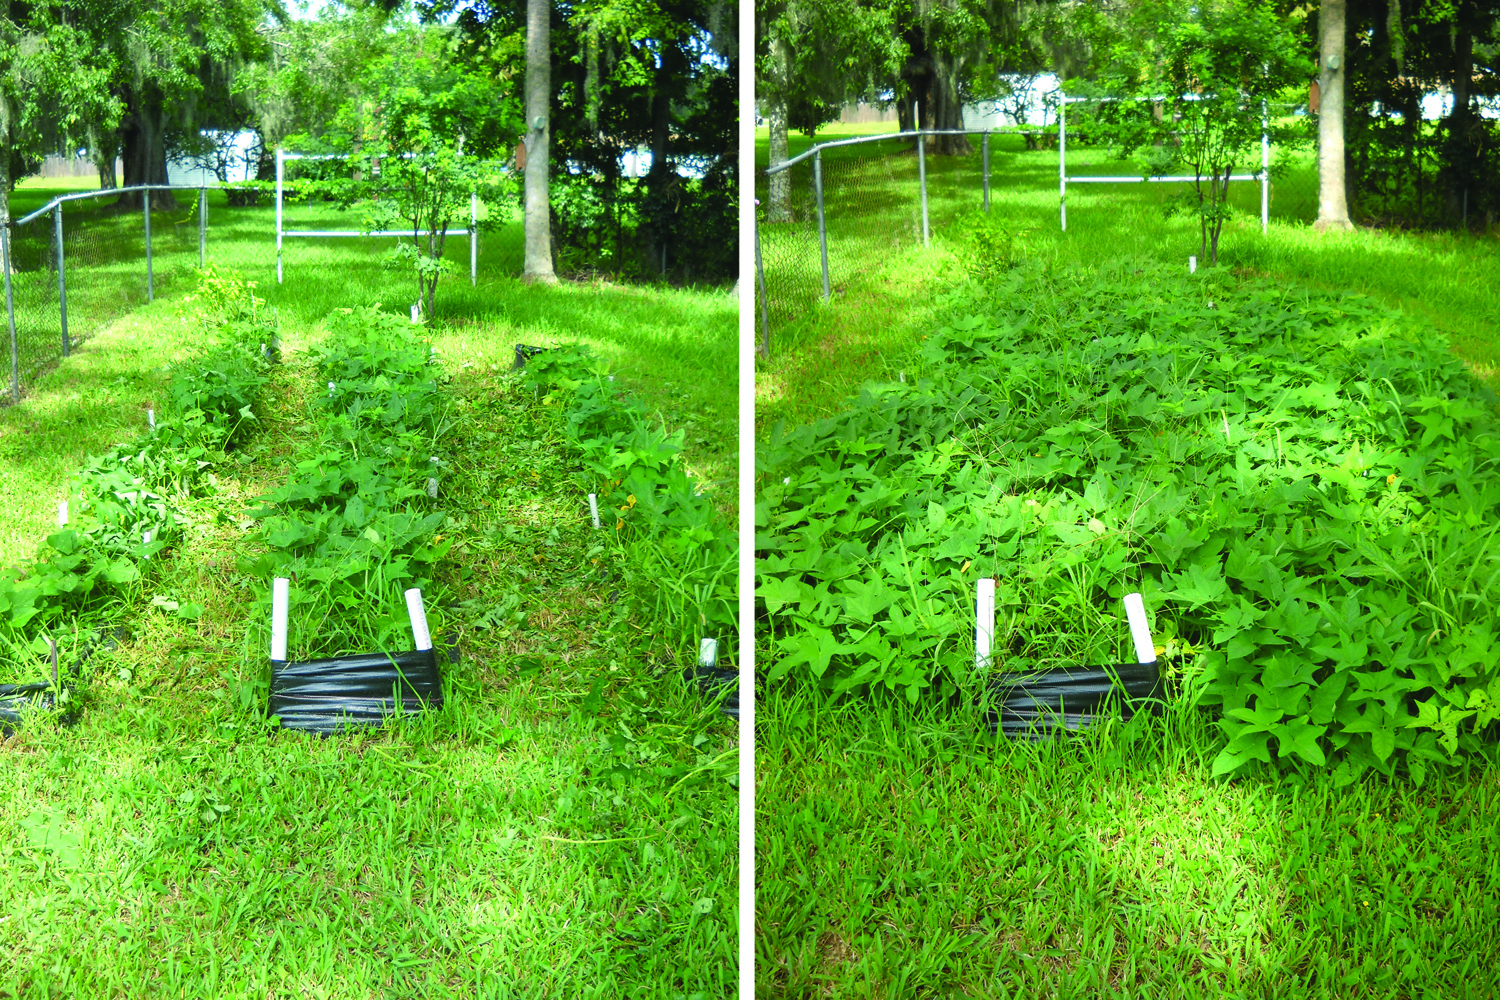
Sweet potato vines will take over if you let them. If you have the room, great, if not, use a lawn mower or weed eater to tame them.
Starting seeds
In trying to cut costs, I start my garden from seeds. I’ve tried using peat pots or similar products to start seeds, but I didn’t like them. I have a friend who makes his starter pots out of newspaper. He has great luck with it and tries to get me to do it his way, but I prefer to use plastic cups.
I have two different sizes: pint and quart. The cup I use depends upon the properties of the plant. If the plant root grows down like peppers or eggplants, I use the quart. As the plant grows, the roots fill the jar, making a nice root ball.
For my tomatoes, I start them in a pint cup that is only filled halfway with dirt. As the plant grows, I add more dirt to support the plant. But also, as I mentioned before, what you bury can become root. Once the plant grows a few inches above the pint, I transplant it to the quart jar and continue to add dirt. I keep adding dirt until it grows to the height I wish to plant.
An interesting point about the cups is that they are clear. I experimented with several different types and colors. But I found the clear ones promoted more vigorous growth. I suspect it has to do with sunlight getting directly to the roots but that is just a guess. I’ve read about using red mulch for tomatoes, but if it ain’t broke, don’t fix it. Besides, I bought a couple hundred cups and I have to use them. I also use a box fan in my greenhouse. When tomatoes are being blown by wind, they produce a thicker stem. I like my plants leggy, but a thicker stalk will help against cutworms and breakage.
Maximizing production
Due to limited space in my backyard, I try to think of ways to produce more without adding more rows to my garden. Canopy gardening was one of my solutions: growing one plant underneath another. The shade of one plant helps to grow a cooler weather plant beneath it. Currently, I am growing my carrots in a pot underneath my mosquito plant. It’s August here in Florida and my carrots are still growing and getting thicker.
Where I have had the most success in maximizing production is with my pole beans. The variety I grow is Rattlesnake. I experimented with several types and these produced quicker and more abundantly. So I kept growing them. Now I’m not sure how high a green bean will climb, but they always grow past the top of my trellis. When I used 6-foot poles, they climbed past. Now I use 10-foot poles, and they still go past. I use 10-foot 1½-inch PVC pipe slipped over green fence stakes (T-posts) at 5-foot intervals. I use elbows and pipe across the top due to the weight of all those beans. I convinced my dad to use this technique on his beans. For two years in a row, his beans have fallen. His zip ties and ¾-inch pipes don’t hold the weight. And once they fill in, the wind can cause some serious swaying.
I run a rope along the bottom and sisal twine from the top to the rope every six inches. I plant a grid pattern of three or four beans per string. When they fill in, you will have a 10-foot tall wall of beans. I have to use a stepladder to pick the beans. As an added bonus, it also makes a great privacy fence.
Sunlight is my largest determining factor with my beans. I planted my first 25-foot row in a spot with only four or five hours of sunlight. It produced about 25 quarts of beans, not counting what I ate and gave away. I moved the row and trimmed some tree limbs and got 60 quarts off the same size row. Next season, I plan on rotating my row 90 degrees. I discovered this year that even though the beans were getting ample sunlight, they were still being shaded. My row was oriented east to west and the top shaded the bottom half of the beans. My dad has no shade in his yard and gets more than 120 quarts off his 25-foot row.
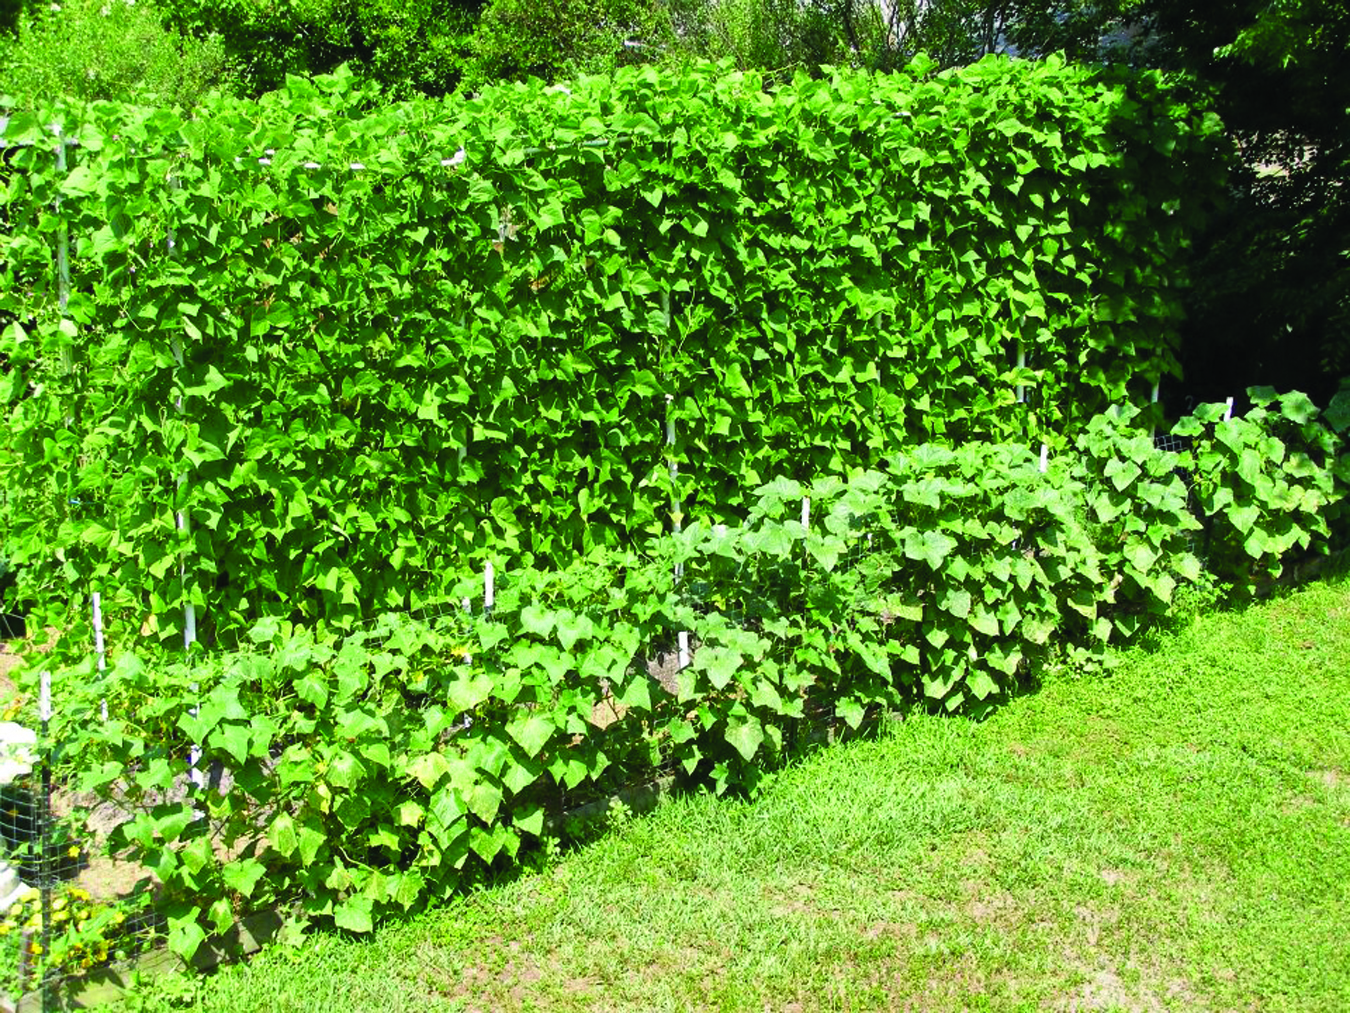
I have had the most success in maximizing production with pole beans.
Tips for tools
Gardening tips sometimes have to do with our tools, not just the plants. Every garden needs a wheelbarrow — it can be a great help, if it works properly. I got mine secondhand and the tire kept going flat. I even put one of those never-go-flat tubes in it, and it still went flat. One year, I got so upset that I just took the wheel off. There was a trench across and around my yard where I was dragging it without a tire. I can be a little stubborn and hard-headed.
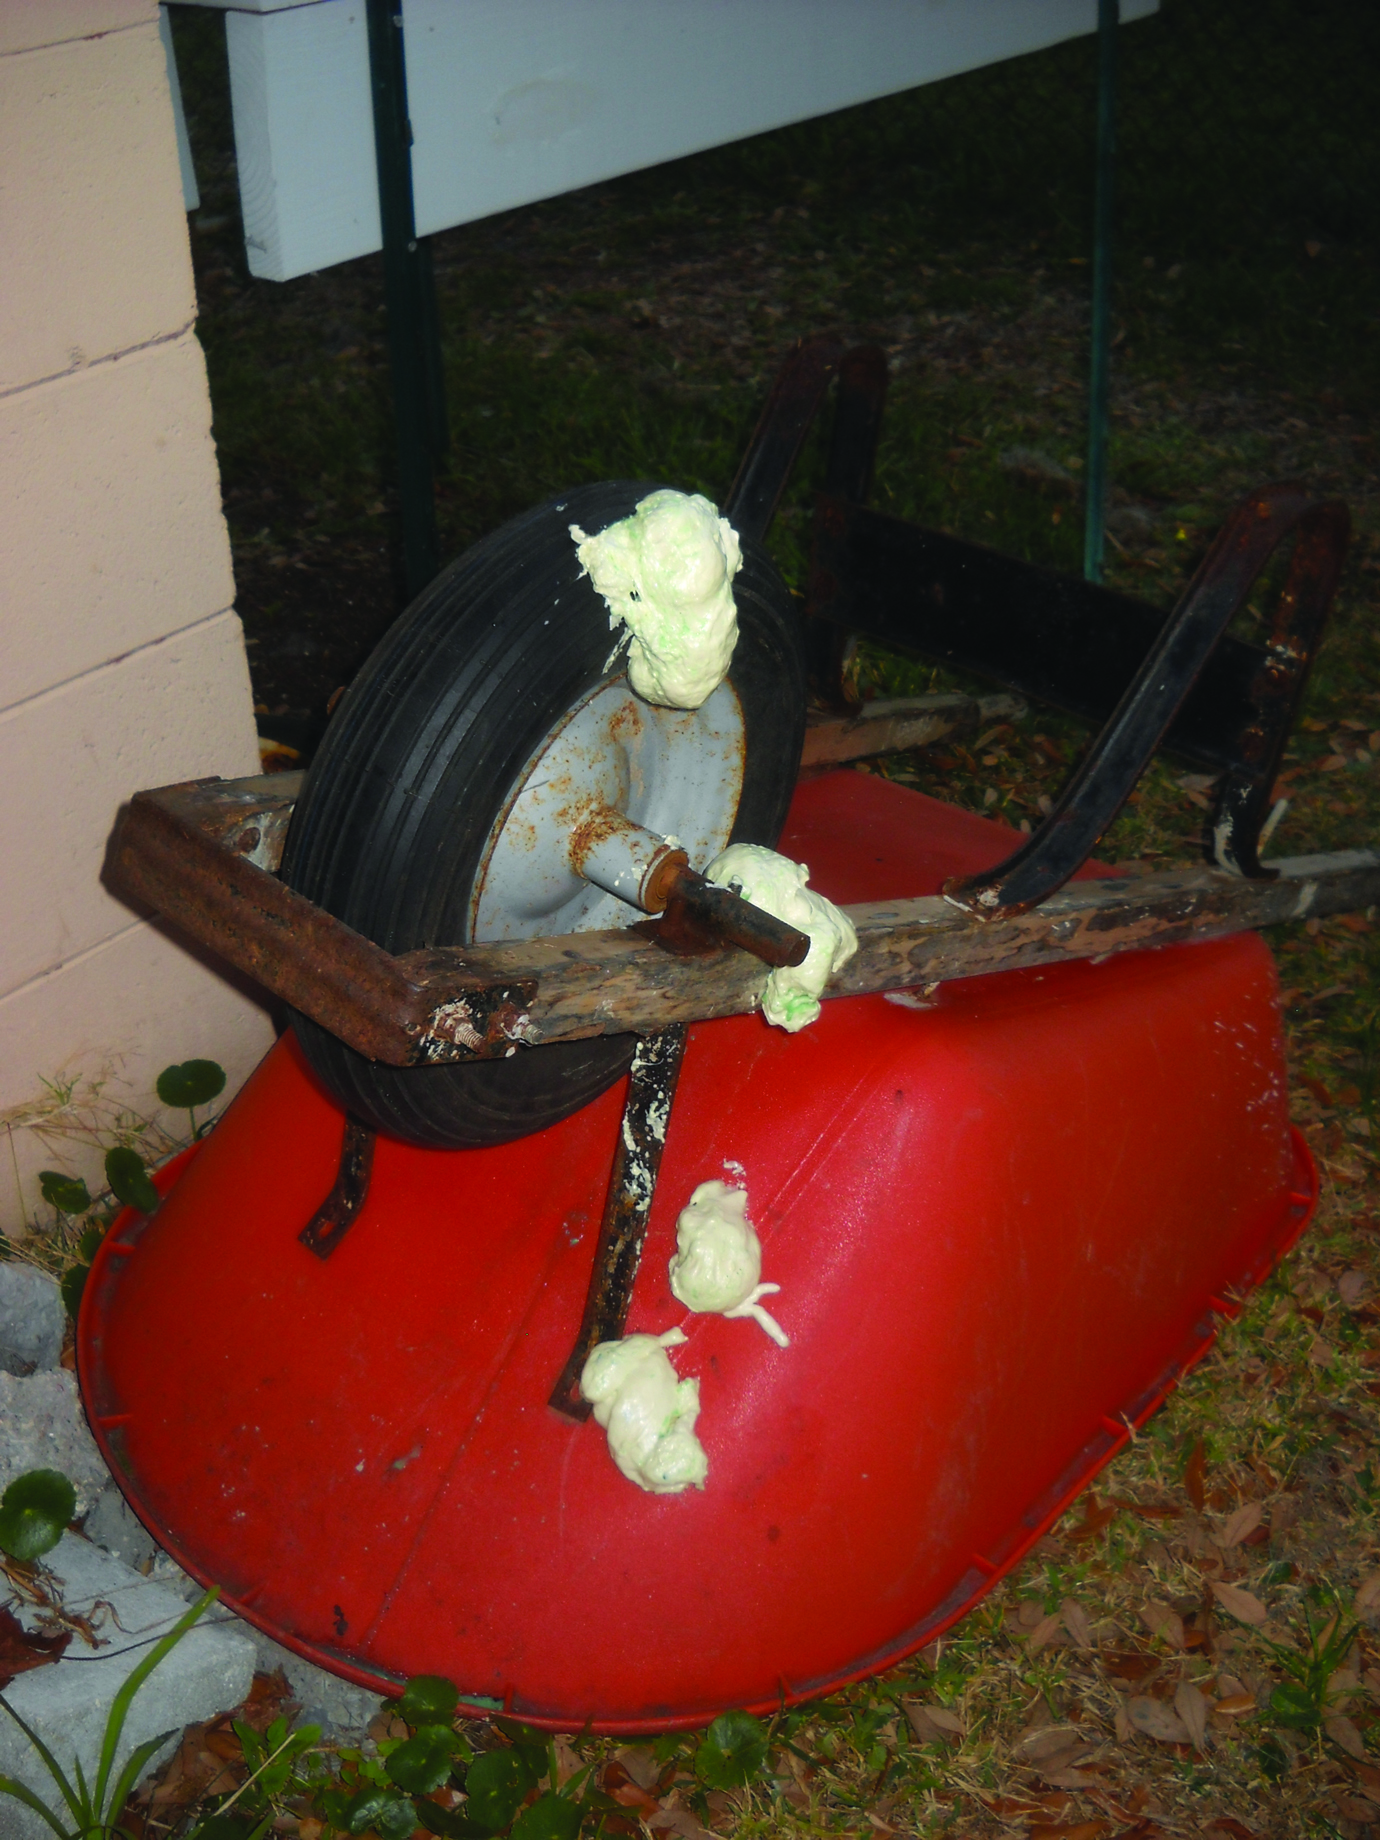
Using expanding foam to fill an otherwise useless tire will give it a longer life.
But then one day on my lunch break, I figured it out. I made a purchase and smiled all the way home. The tire already had a hole in one side. So I cut a hole into the opposite side. Then I stuck the straw of a can of expanding foam in the tire and filled it full. The foam expanded out both holes, and once set, I had a never-go-flat tire. It might dent, but it won’t go flat. It might not hold up to a load of concrete, but for moving dirt or firewood around my yard, it works great.
I have learned that you never know it all when it comes to gardening. What works for me might not work for you. But perhaps I have just passed on some information that will apply to you. Good luck and happy gardening.