

By Miranda Rommel
Cheese: it’s delicious. Cheese making is a skill that’s been practiced for thousands of years, but for many home cooks it can seem mysterious and complicated. But it doesn’t have to be intimidating. Forget the special cultures, rennet, or dark caves. If you’re a newbie cheese maker, this is a great recipe for getting your feet wet and has lots of room for creativity.
“Farmer’s cheese” is something you can make without much planning. In fact, I’ve often made a batch of this cheese just because I noticed my raw milk was nearing the end of its freshness. All you need is some milk, vinegar, or lemon juice, and a few basic kitchen tools — all things you probably have on hand anyway. Farmer’s cheese is by itself a fairly bland cheese, can get too dry and crumbly if you over press, and it doesn’t melt. But it can be really delicious, especially when you spice it up some, and that lack of melting makes it a perfect candidate for frying — use it in place of Paneer in Indian dishes, or just fry it up as an appetizer. This cheese is meant to be eaten right away or within a few days.
I like to season my farmer’s cheese with finely diced garlic, dried chilies, rosemary, and plenty of salt. The combo is delicious! Prefer chives? Maybe some basil? This cheese is so versatile you can really add any spice and herb combination you enjoy. Just be sure to use a good amount of salt.
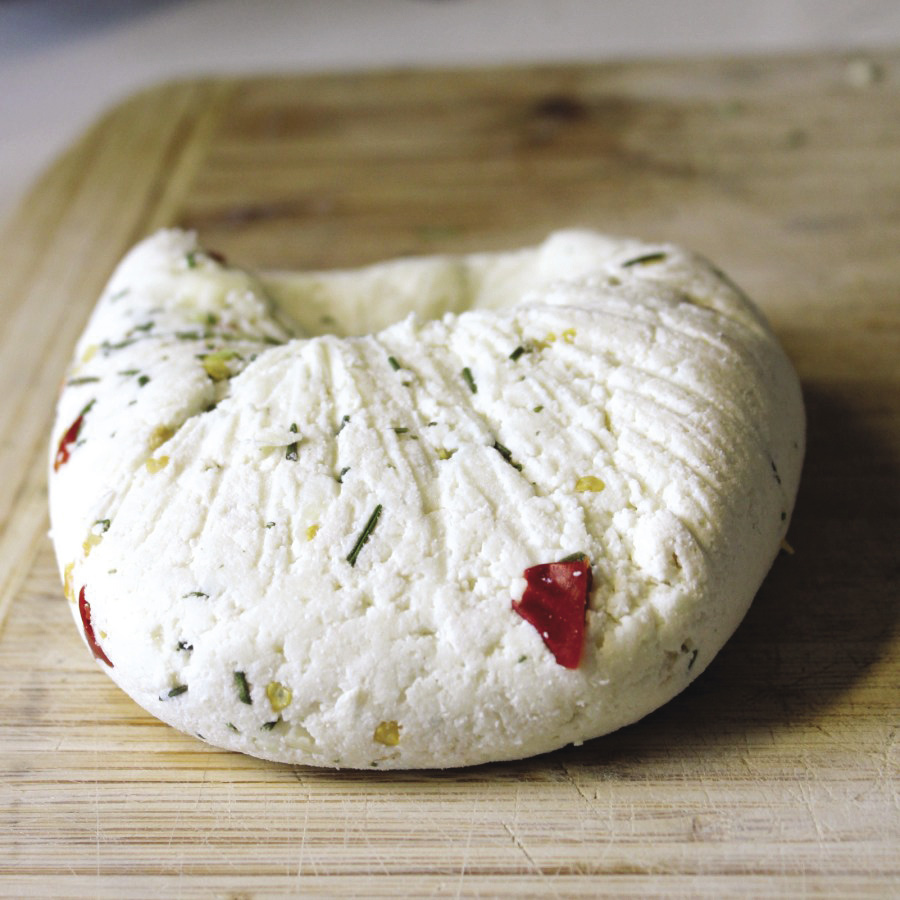
I love to spice up easy-to-make farmer’s cheese with herbs and spices like fresh rosemary and chilies from my garden.
As with most cheese making, you will end up with way more whey than cheese, so if you have hogs or poultry they will love to slurp this up. You can also save some whey as a sipping drink that packs a protein punch. I always freeze an ice cube tray full of it to use in fermentation or grain soaking. No waste!
Ingredients
- 1 gallon milk — raw or pasteurized, skim or whole (whole will make a much tastier cheese)
- 1/2 cup apple cider vinegar (you can also use white vinegar, white wine vinegar, or lemon juice)
- 1 Tbsp. salt
- Ground herbs of your choice
Equipment
- 2 large pots
- Cheesecloth or old bandana or pillowcase
- Colander
- Something heavy
The process: No thermometer required! Heat your milk to a rolling boil. Turn off the heat and add vinegar, stir. The milk should begin curdling and separating right away into yellowish clear whey and clumps of curds (your future cheese). You want to allow the curds and whey to fully separate before straining (whey should be yellowish clear, not milky looking. You can add a splash more vinegar if the whey isn’t clarifying after several minutes). Once fully separated, pour the whey and curds into your colander that has been lined with cheesecloth over another large pot (you could do this into the sink drain, but why waste all that nutritious whey?). Sprinkle salt and herbs over the curds and mix with your fingers to distribute, then close up the cheesecloth with a twisting motion to press out whey. Twist out whey until it’s difficult to squeeze any more out.
You can now set the cheesecloth parcel back in your colander and put your “something heavy” over the bundle and allow to press. The timing for pressing and draining is a matter of personal choice: you want it to become dry enough to hold together but not so dry that it’s crumbly and boring. I almost always over press, so do some experimenting and feel free to unwrap and taste test.
Yum! This cheese makes a lovely appetizer and fries well for some extra fun. Don’t be intimidated by cheese making — try it out!
Miranda Rommel is a professional artist living on “Birdsong Farm” in western Oregon. New to homesteading, Miranda and her husband, Andy, (along with their corgi, Pocket) do their best to eat seasonally, grow much of their food, raise happy livestock, and slowly improve the 17 acres they are lucky to call home. Miranda is an avid cook and advocate for sustainable living. Read more about their adventures at www.PocketPause.com.
In Indian cuisine, what you are making is known as “paneer” (less the herbs and spices). It’s technically not cheese because the milk is not curdled by rennet but by acid.
This product does not melt upon boiling so it can be used to prepare the whole suite of Indian dishes such as palak paneer, shahi paneer, paneer Tikka, or matar paneer. All of them are simple, delicious dishes :-)
Just made this and it was great! I used it to make pierogi as cheese pierogi were my favorite growing up but I can’t find farmers cheese in stores where I live. For future reference, I used a half gallon of whole milk and got about 2 cups of cheese, so if you use the full gallon it will probably yield about 4 cups.
How much cheese does it make? It would be good to know beforehand if using the final product for a recipe that calls for a specific amount of farmer’s cheese.
This is for Laura who couldn’t get Farmers cheese in her grocery store. The absolutely best farmers cheese comes from Scandinavia and is sold in OLD SAUTEE STORE IN SAUTEE, GEORGIA. It is sold in 2 pound rounds and 1/2 of the two pound rounds. You can Google the store for more info. They ship all over. These also make great Christmas gifts.
Do you use fresh or dried herbs?
Tried it with raw milk from a local farm.. turned out great! Thank you!
My grandmother used to buy Farmer’s Cheese at the supermarket (1950’s) to use in a Slavic recipe called Strukli. Thank you so much for this recipe since the cheese is no longer available in the grocery. I can finally make Grandma’s recipe, one of my favorites!
Can I use clabbered milk I canned ?
What kind of salt do you use?
Can you use milk other than cow’s milk? Grandson has allegories to cow’s milk.
I always let the cheese cool off a little and just squeeze it with my hands in the cheesecloth. Then open up the cheesecloth dump into a bowl and add my spices ect. I do not like dry cheese. If you have a big amount you could probably press it for 15 min. Toss the cheese and press for another 15 min.
What is a good approximate amount of time to press before the cheese is over pressed? Is it a few minutes or closer to an hour, or longer? I am guessing it varies based on your milk choice, but is there a range that I should be within?
What do you do with the whey?
I made it with powder milk dissolved in water it turned great
I made it with whole milk and am now looking for a farm to buy raw milk….My grandma was Polish and had a farm and always made it…Oh the perogis Yum.
I’ve made this with 2% milk turned out great. Don’t over press.
Can you you 1% milk to make this?
Thank you for that great DIY cheese making. I will surely try to do one for me being home alone. Again Thanks a lot and more power.