
By R.E. Rawlinson
I recently had two people ask me about building work benches. One was a young man wanting to try his hand at wood working, and the other a lady doing her best to be self-sufficient. Though their goals were quite different, their immediate needs were identical. Both needed a sturdy, versatile work surface that wouldn’t cost much money and would be simple to build, of convenient height, and providing a means of holding materials in various positions. I firmly believe in the saying, “Give a man a fish and he will eat for a day, teach a man to fish and he eats for a lifetime,” so we worked together to come up with a plan that took into account their finances, available tools, skill levels, and materials that did not require any complex joinery.This handsome workbench is made from
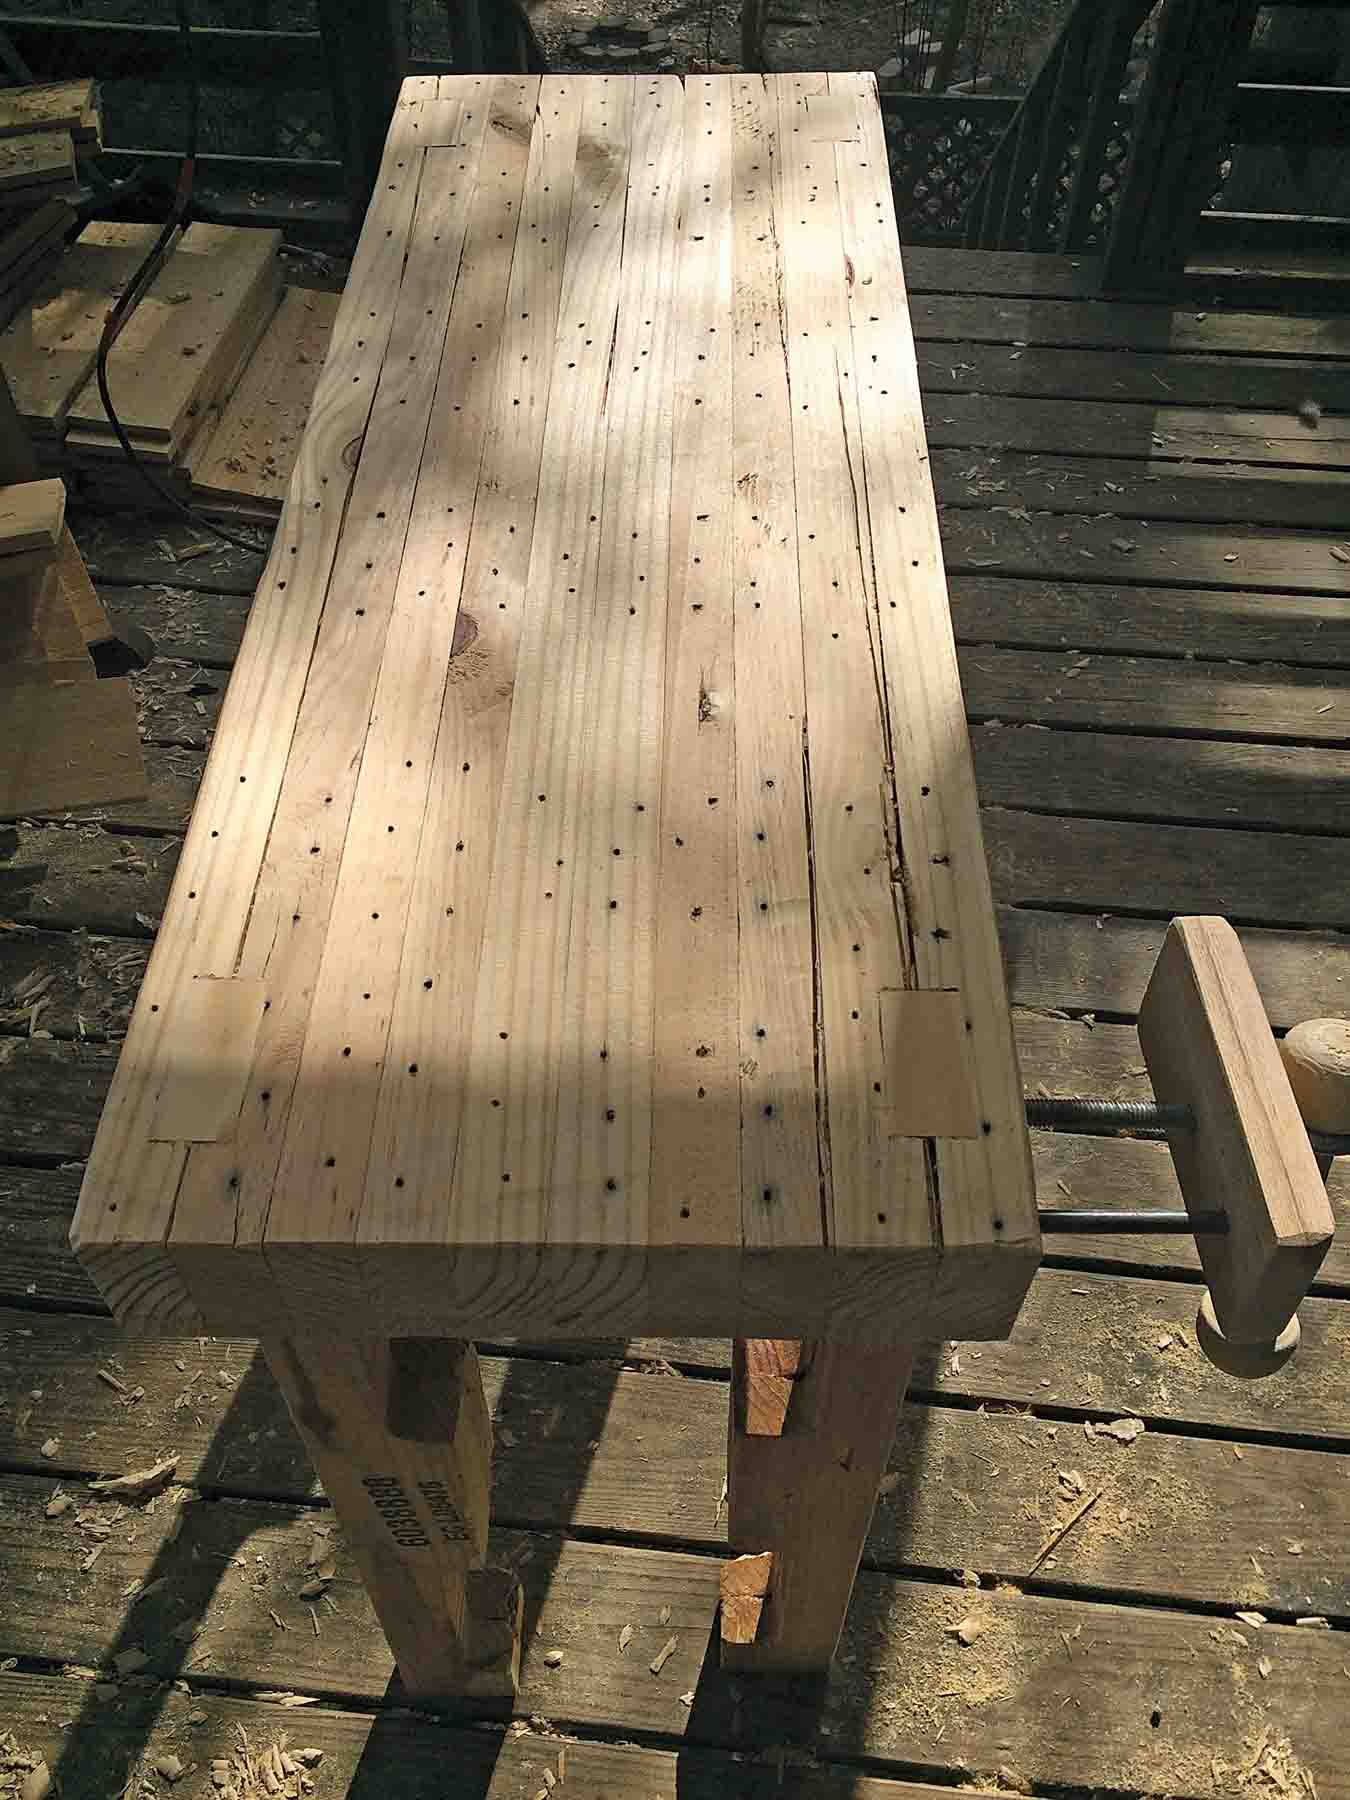
recycled pallets and only cost $12. 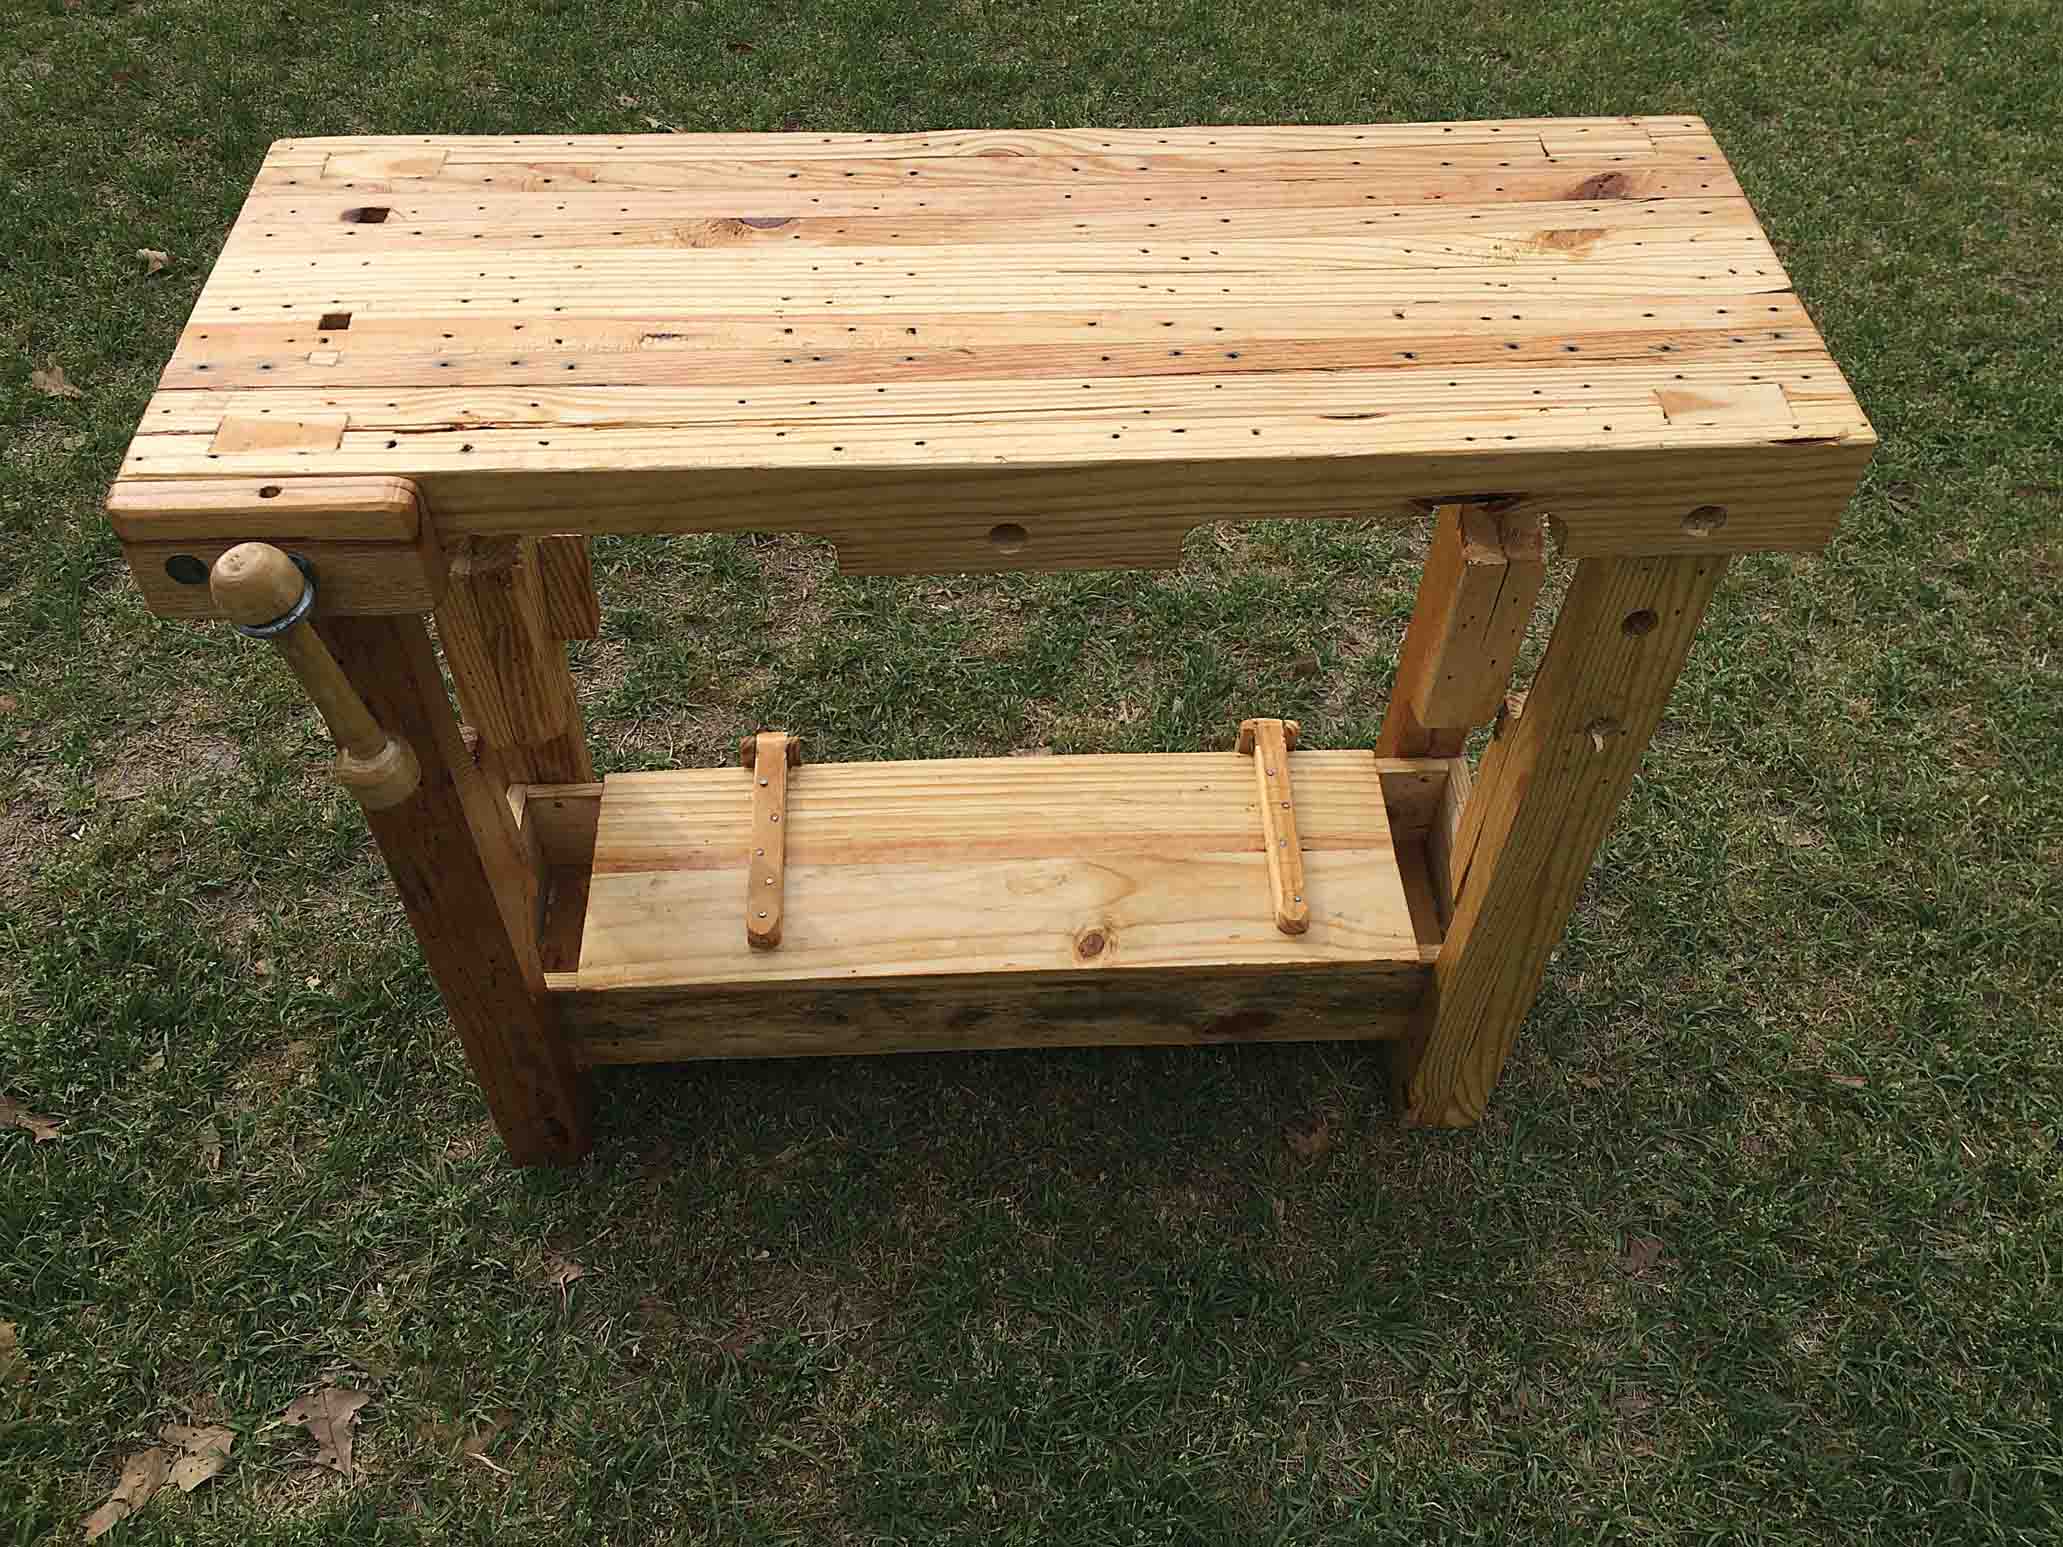
This handsome workbench is made from recycled pallets and only cost $12.
A solid work bench is not a convenience, it’s an important tool for the do-it-yourselfer. Since neither person was in a position to buy materials from a lumber yard or harvest their own trees, we decided on a free material that they both had access to — shipping pallets. Oh, I can hear the groans — “not another pallet project!” I understand the feeling, but this project is as much about making do with what you’ve got as it is about a workbench. The humble shipping pallet has acquired an almost cult following in the DIY community for very good reasons, they are often free for the picking up, come in various sizes, and are made from many different species of wood.
Breaking down pallets into usable lumber is simple enough, if not very entertaining. We were careful to remove all nails with a crow bar or pliers. Occasionally the head would pull off the nail and we used a pair of slip joint pliers to grab the nail and lever it out.
The first step after deconstructing the pallets was to glue two stringers together to make each leg.

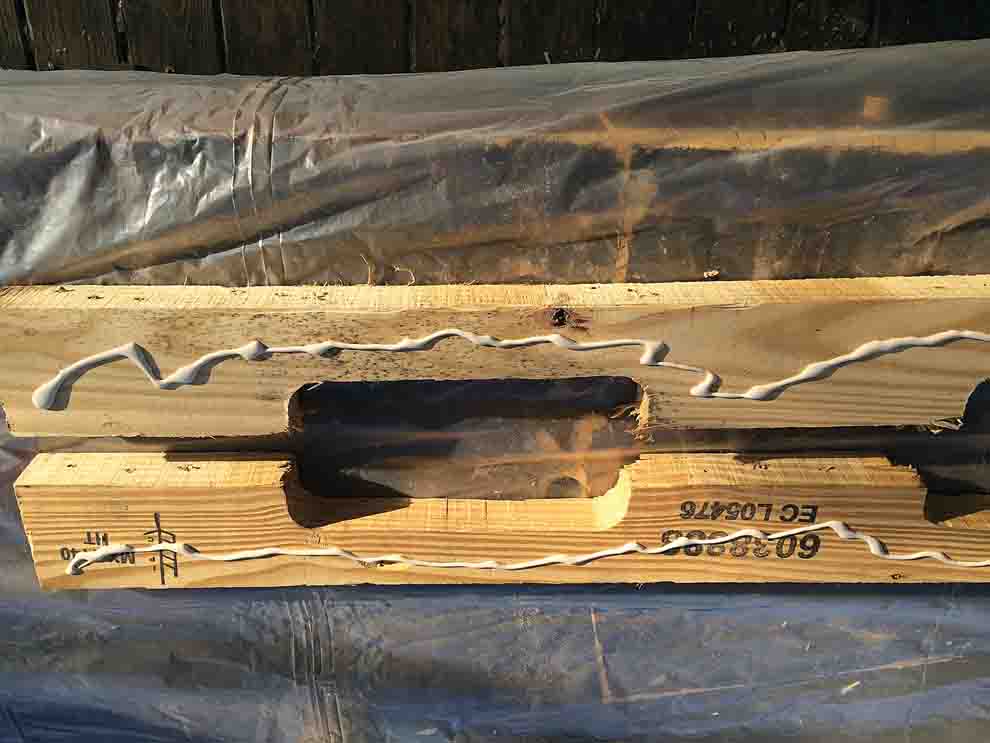
Before gluing the remaining stringers together for the top, we laid out where the mortises for the legs would be. We also marked lines for a guide rod and vice screw on one bench top and drilled holes through the stringers to accommodate them. With saw and chisel, we formed the leg mortises. Finally, we glued and clamped the top.
The build
Once the pallets were reduced to usable lumber, we set aside the decking boards and took a close look at the stringers, picking eight of the straightest and least knotty available. In our case, as the stringers were roughly 1¼ x 3½ inches, we decided to use two stingers glued together for each leg. We applied a generous coat of glue to each leg and clamped them together and let dry. If you don’t have any clamps, ratcheting cargo straps work well, or you can simply apply pressure with weights such as bricks or cement blocks.
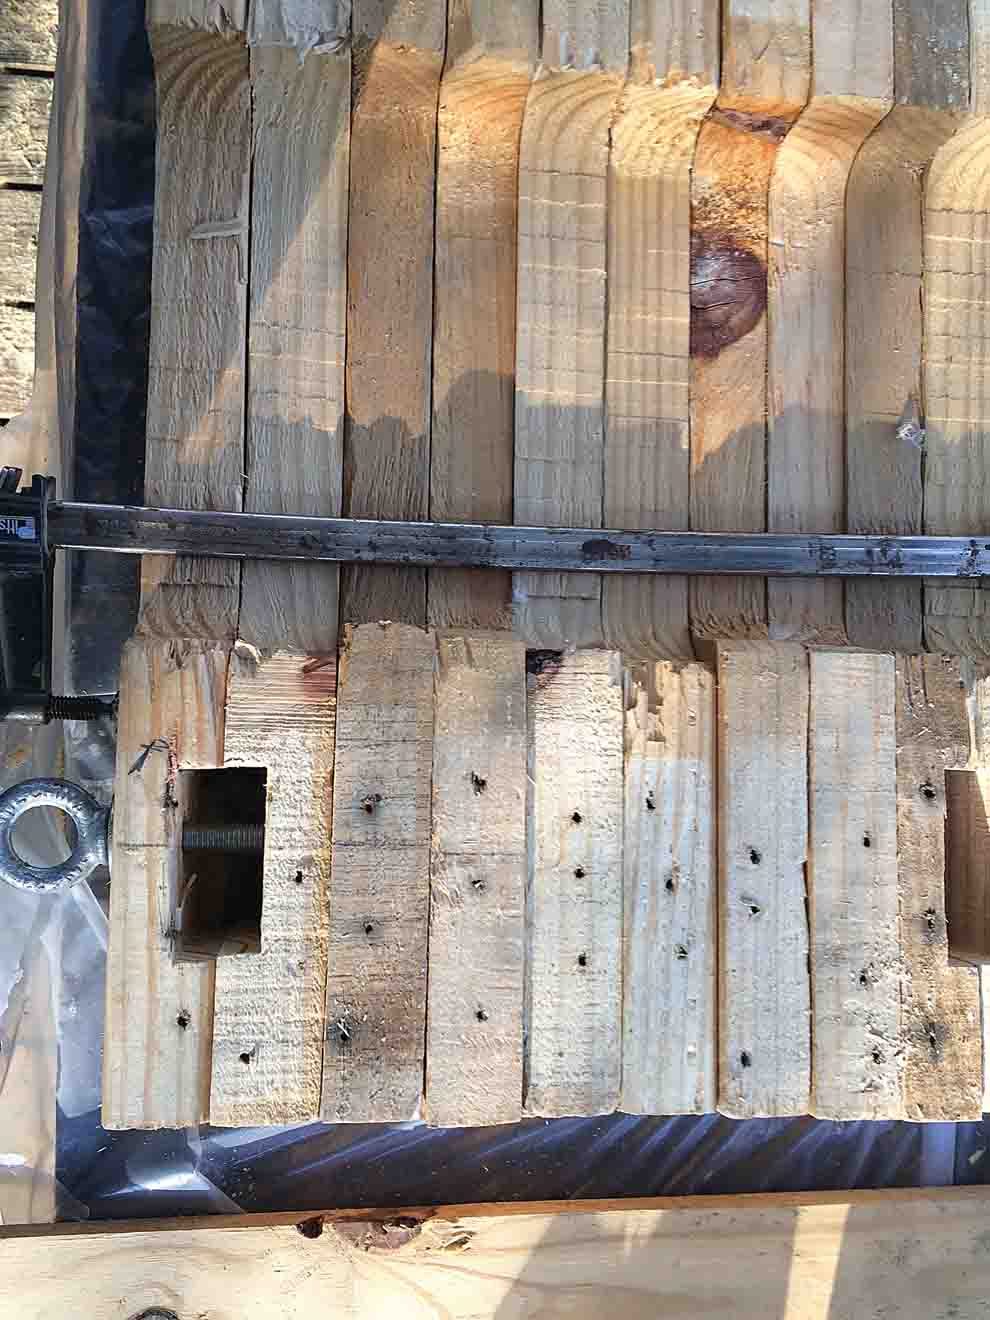
We used Tightbond III wood glue for this project because it is water soluble when fresh, which makes for easy clean up, but is effectively waterproof when fully cured. Setting the legs aside, we laid out our remaining stringers for use as the top of the bench. These would be laminated together so the number of stringers determines the depth of the top. About 20 to 24 inches is a good depth. Laying out our stringers on a flat surface, we marked where the mortises for the legs would go (about 2 inches from each end of the top and centered on the line where the first and second stringers would mate). We planned to build in a vice at the left front corner of the young man’s bench, so we also marked the lines for the guide rod (made from a large spike) and vice screw (a ½-inch eye bolt) aligned with the center of the left front leg.
Flipping open the stringers, we transferred the layout lines for the mortises and used wasting cuts and a chisel to form the mortises for our legs, rather than trying to chop them out after the top was glued together. We also drilled the holes for the vice screw and guide rod at this time. We then covered a flat surface with sheet plastic to protect it from excess glue and laid out the top face down, applied glue and clamped it all together to dry overnight.
While the top was drying, we sawed out the tenons on the legs and cut them to length. A good height for a work bench is the distance from the floor to the top of the wrist. Once the top was dry, we used a hand plane to even up the surfaces and used a chisel to clean up the leg mortises. Each leg and its corresponding mortise were numbered and trimmed to achieve a snug, hand tight fit.
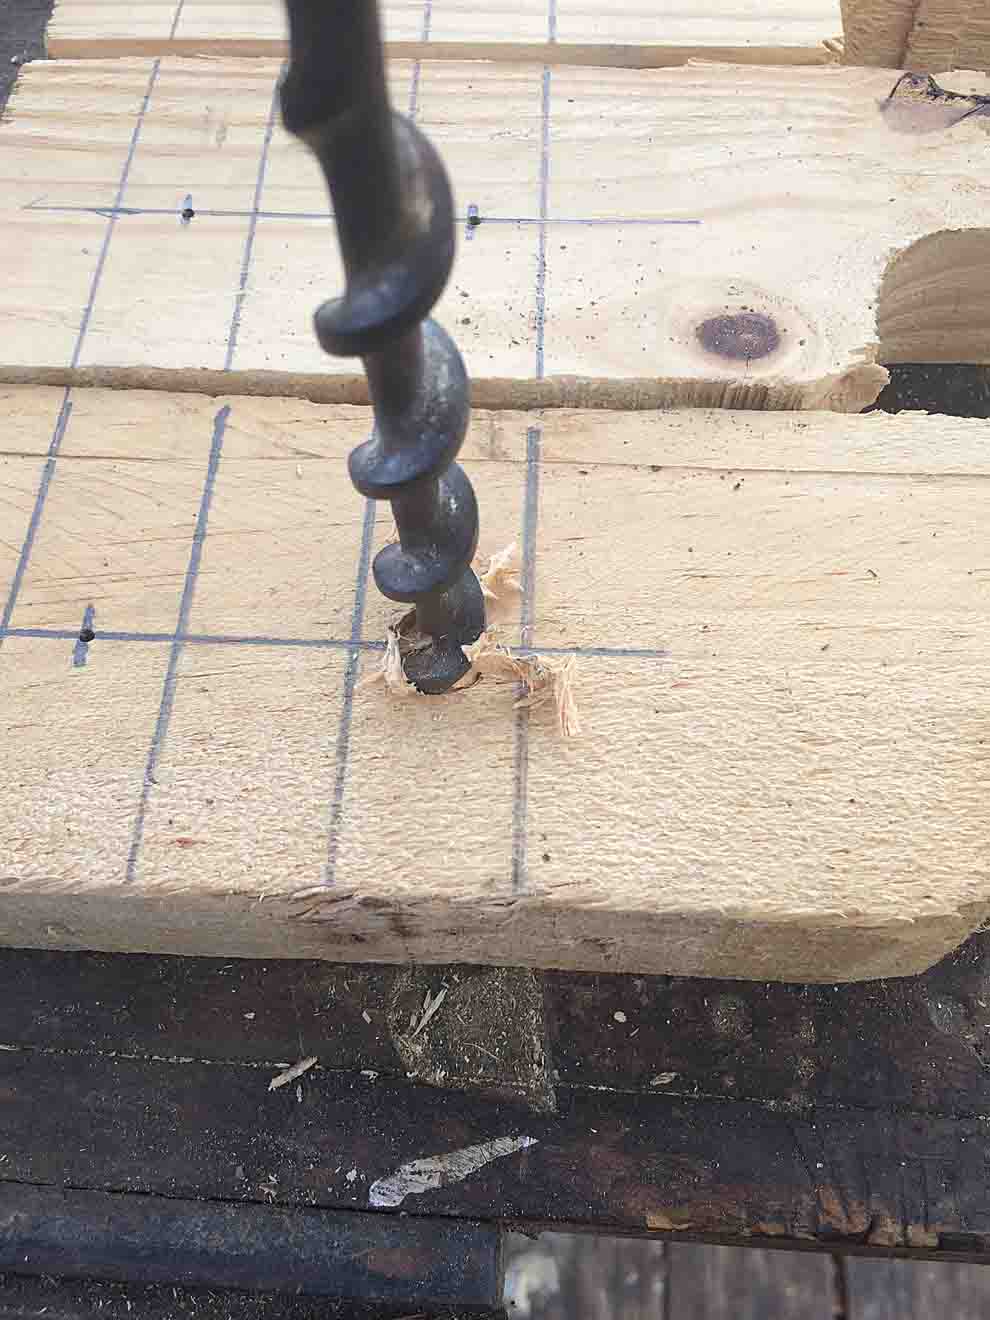
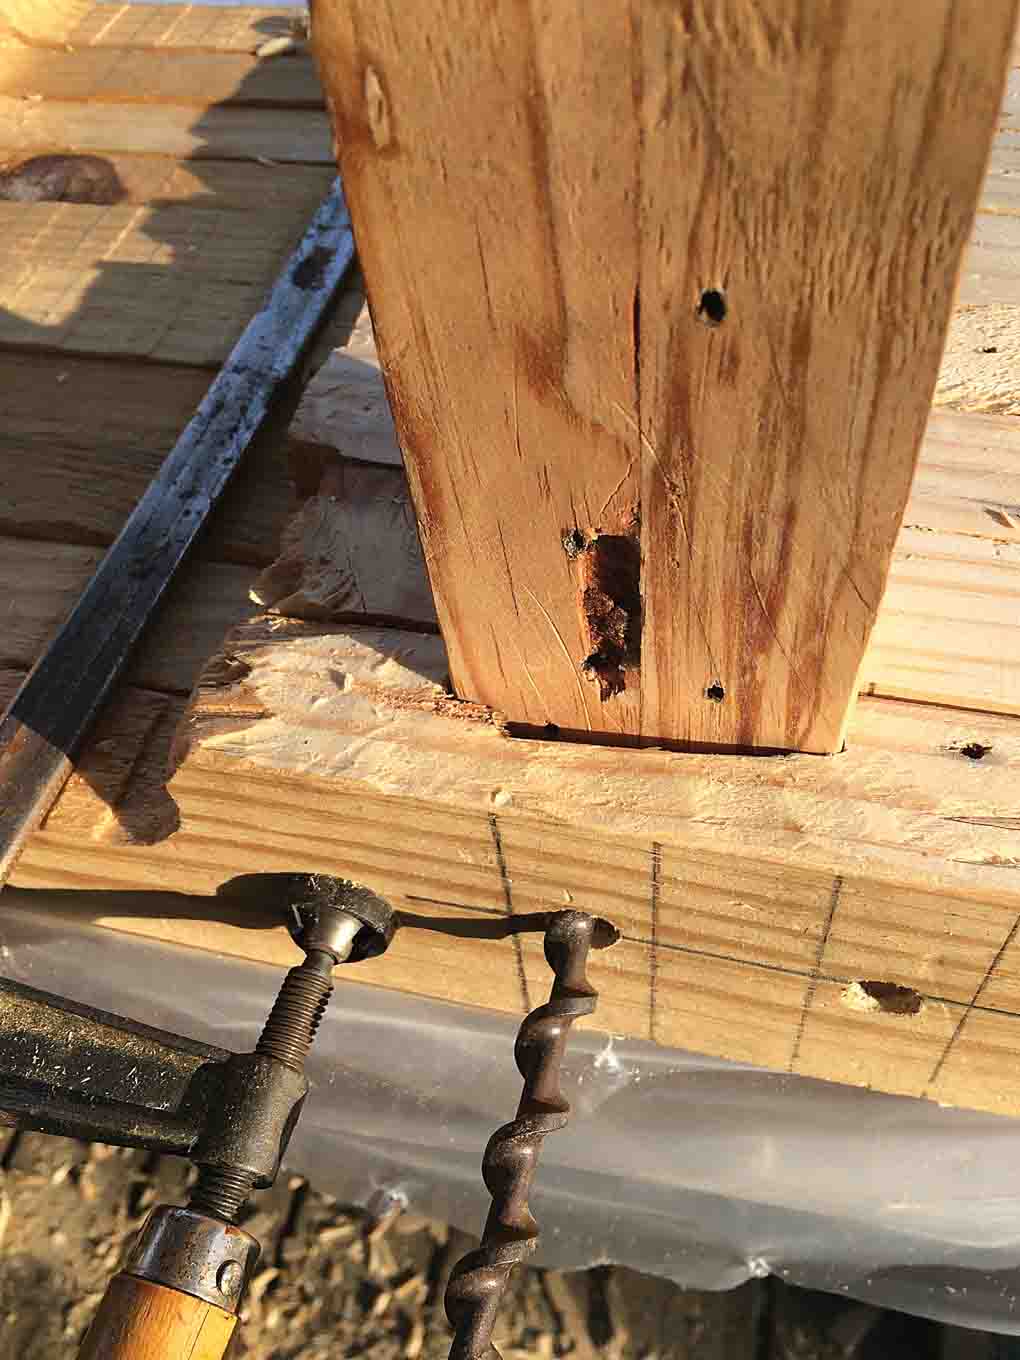
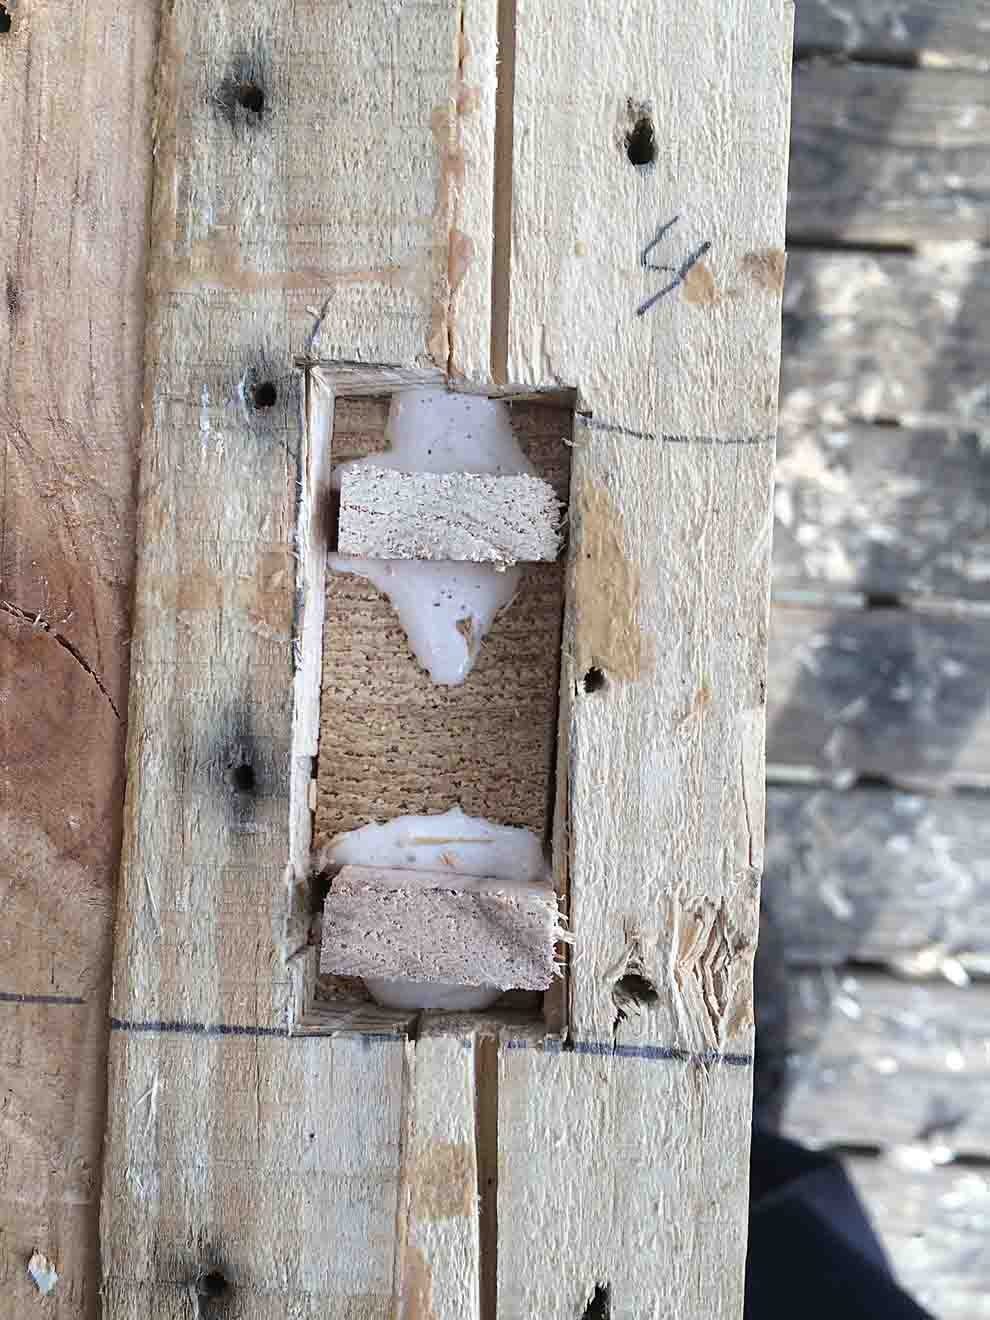
With all the legs dry fit, we now drilled out the holes for the vise screw and guide pin to clean out any glue and true up the alignment. Removing the left front leg that now had a hole through it, we inset a square nut on the back side of the leg for the vice screw. This nut must be set on the back side of the leg so that the leg supports the clamping force of the vice rather than the long grain of the top, which would likely split under load.
Once the nut was inset, each leg had two kerfs sawn into them to receive wedges. We applied glue to the leg tenons and inserted all the legs into the numbered mortises and drove in the wooden wedges to lock it all in tight and square. To hide the end grain of the legs, each tenon was cut ½ inch shorter than the top is thick. We cut long grain “Dutchman” patches and glued them in place, then planed the whole top smooth.
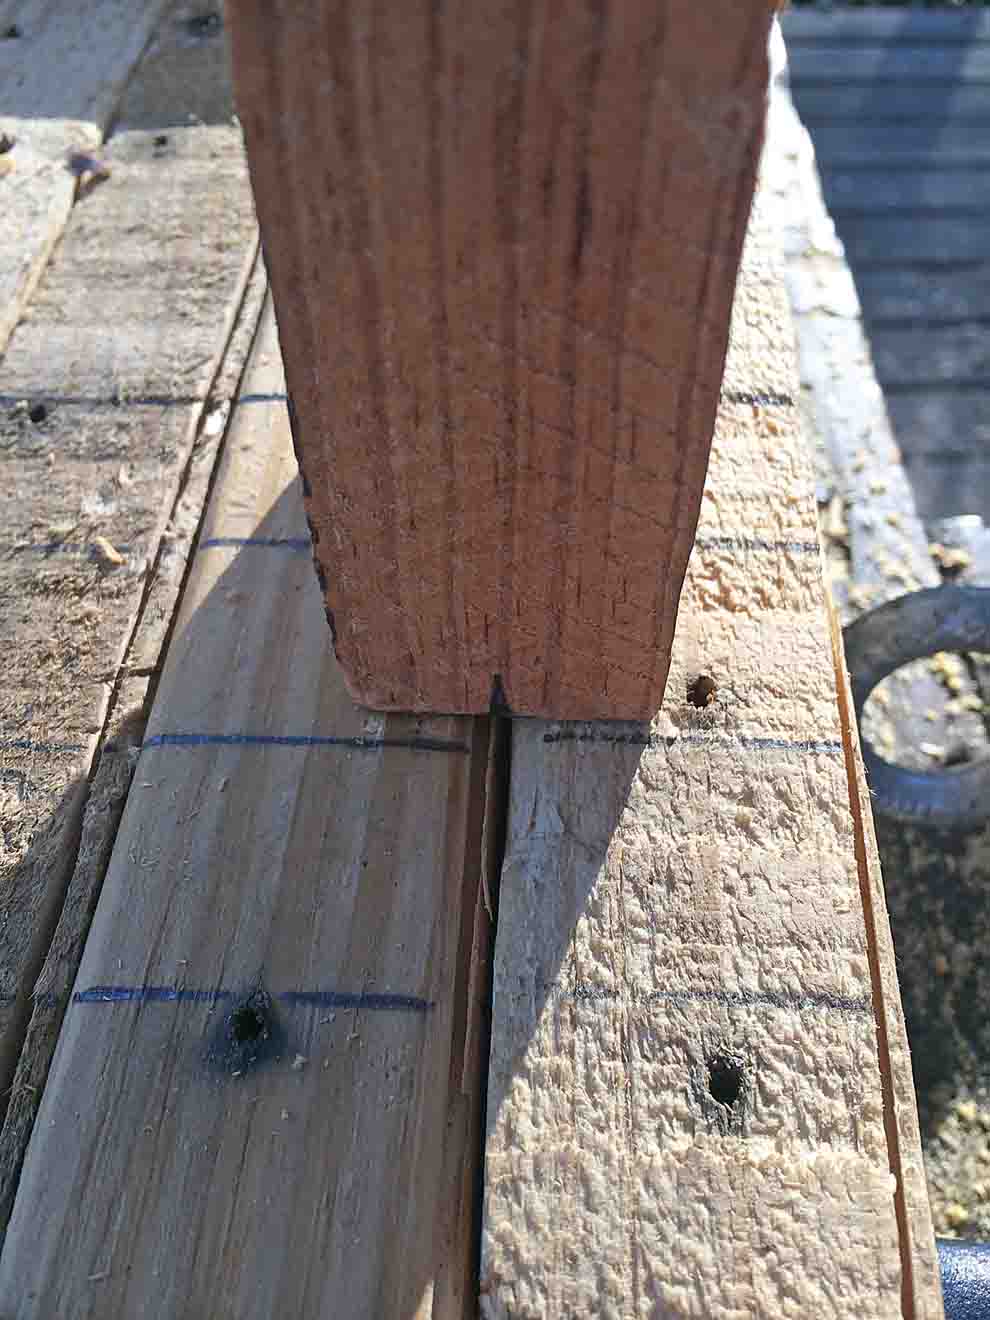
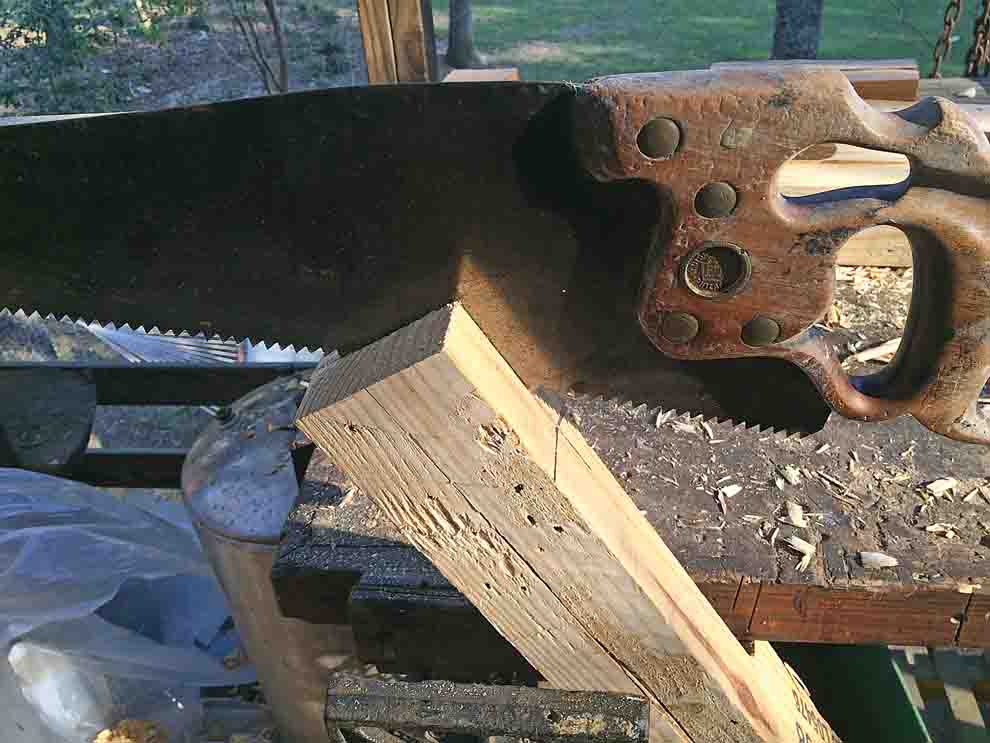
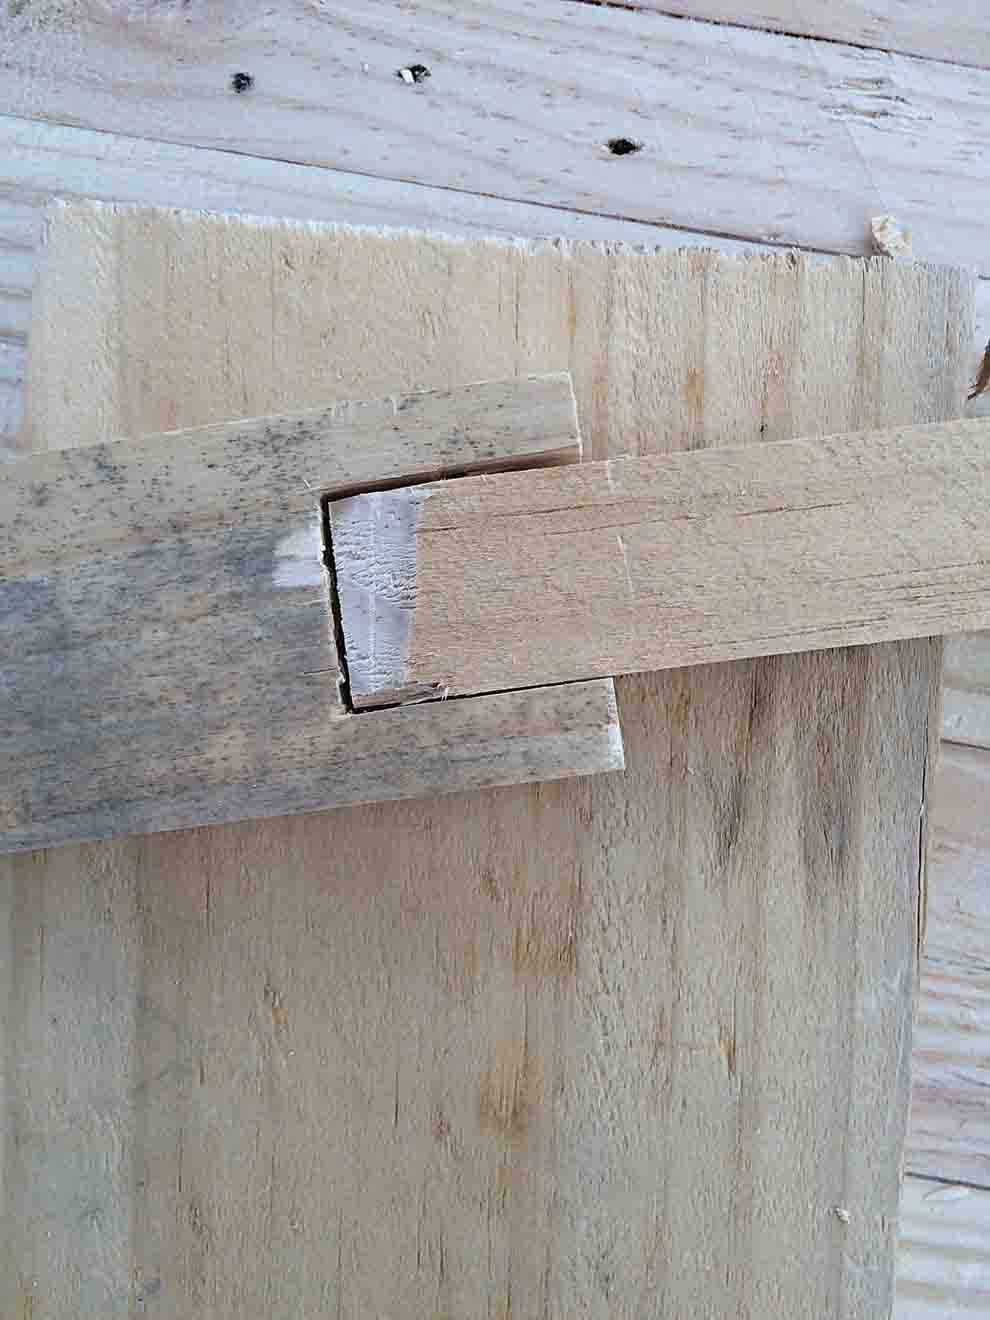
Next we cut a tenon on each leg to fit the mortises on the top.

We cleaned out the holes for the vice screw and guide pin with a drill, then inset a nut in the back of the left front leg to receive the vice screw.
Finishing the bench
Now we had an ugly table, but not a workbench. The lower ends of the legs had to be tied together to resist racking. The force of pushing and pounding on the top against the stationary feet can cause the legs to move out of square, potentially collapsing the bench. To combat racking, you could simply nail some decking boards to the bottom of the legs side to side and front to back. This would be a simple and effective solution, but we decided to make a virtue of necessity and build in some storage space that would tie the legs together on one bench, while the lady elected to use stretchers and leave the bottom open. The young man used the decking boards to build a simple box sized to fit between the legs. With saw and chisel we cut a ½-inch wide groove down the length of the front and back boards to support the bottom of the box. We also cut a dado as wide as the decking boards at the point inside the legs to hold the ends of the box. To create a lid, we used two decking boards held together by battens that would also serve as a part of a hinge. Since we were trying to keep costs to the bare minimum, we made wooden hinges from deck boards notched and whittled to shape. More salvaged nails were fitted into pre-drilled holes to serve as the hinge pins and the hinges nailed on with the ends bent over or clinched “dead as a doornail” to prevent pulling out.
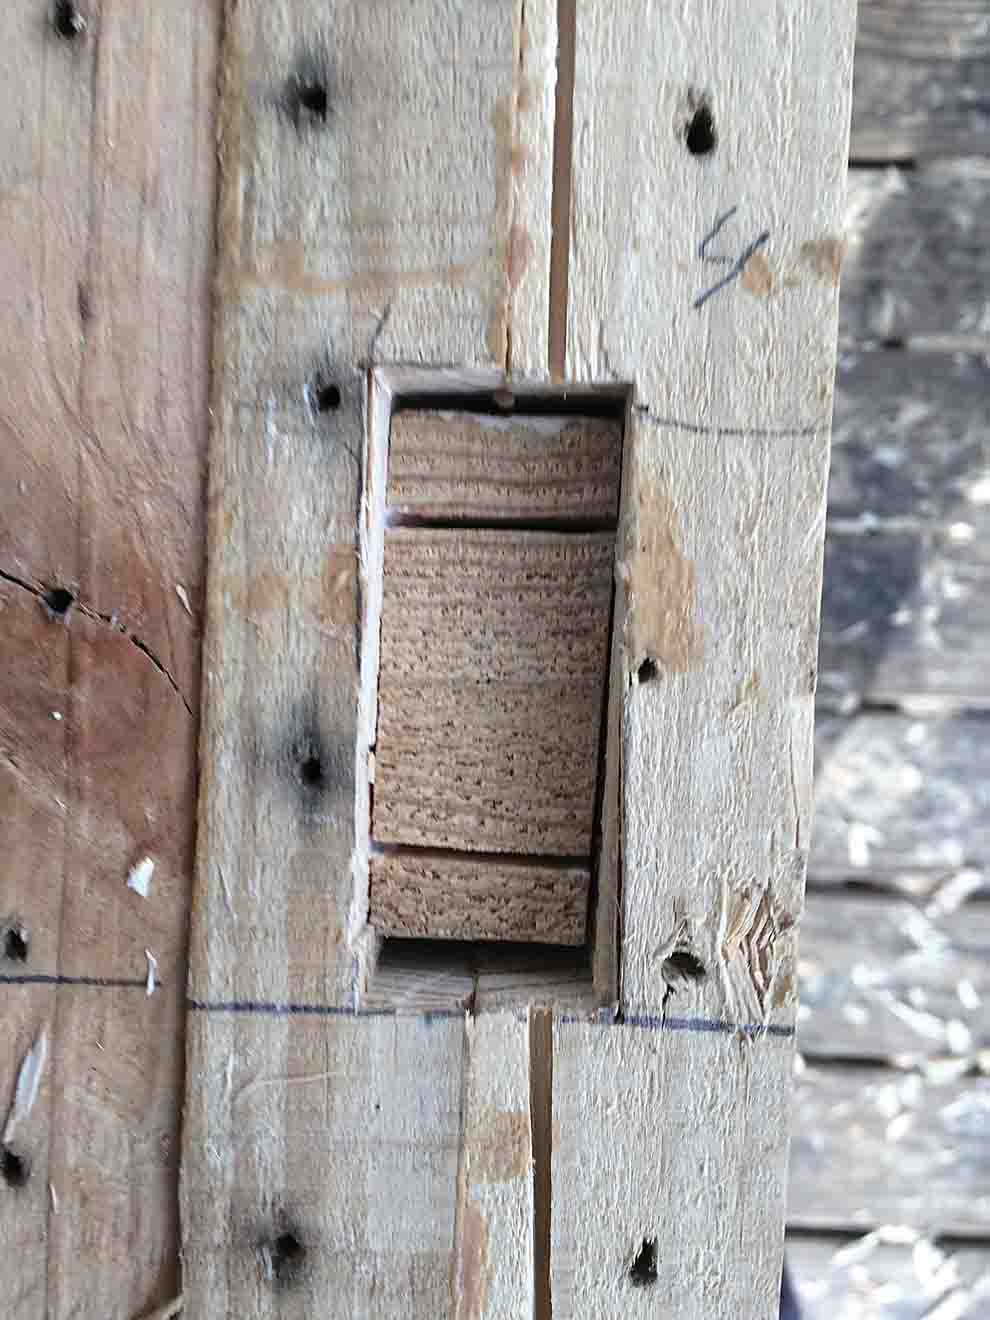
We glued the mortise and tenon joint and also glued and pounded wedges into kerfs sawn in the top of each leg. As you can see, the leg tenon is slightly shorter than the table top thickness so we will be able to hide the joint with a pretty “Dutchman” patch.
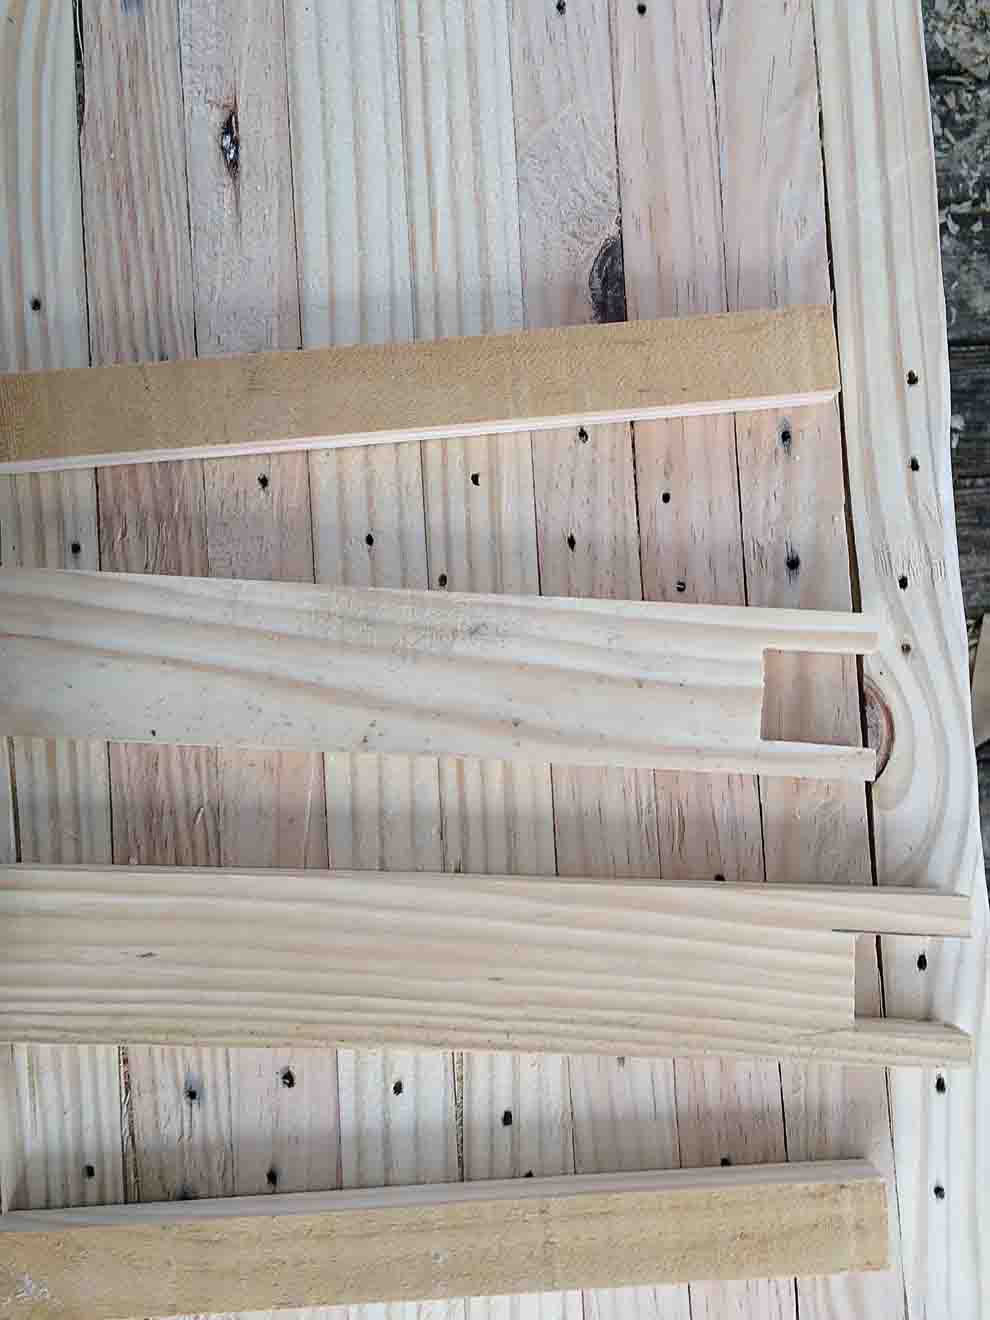
We made a simple hinge for the lid of the storage box. A salvaged nail is the hinge pin.
The completed box was now placed between the legs and nailed in place a few inches from the bottom and a stop added to one leg to prevent the lid flipping all the way over.
The lady chose to use stringers between the legs and no storage box. (She did later build a storage chest of plywood to rest on the stretchers.) The extra weight of storage is an advantage in a work bench. It lends stability and helps absorb pounding and shocks.
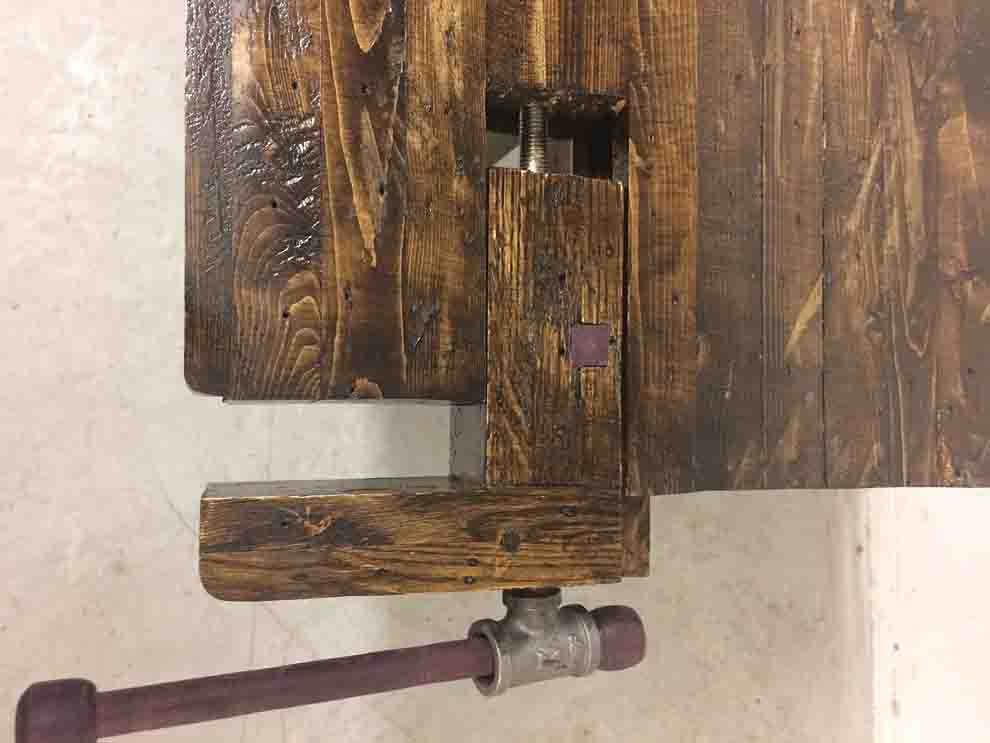
Both benches needed a vice to hold the work. The lady chose to purchase a simple face vice from a home improvement warehouse, but the young man made his by securing the eye bolt and the spike guide pin to a piece of oak from the pallet and threading it into the captured nut in the bench top. The lady added a tail vice to her bench using the same methods and a piece of all thread rod which was quite impressive!
When complete, the young man’s total cost was $12 for glue, eye bolt, nut, and spike. The lady’s total cost was about $70 for a face vice, threaded rod and nut, an iron pipe tee, stain, and polyurethane. For that price they both got a nice workbench, learned some basic carpentry skills, and most importantly, gained confidence in their abilities to provide for themselves from what is available. Well done to them both!
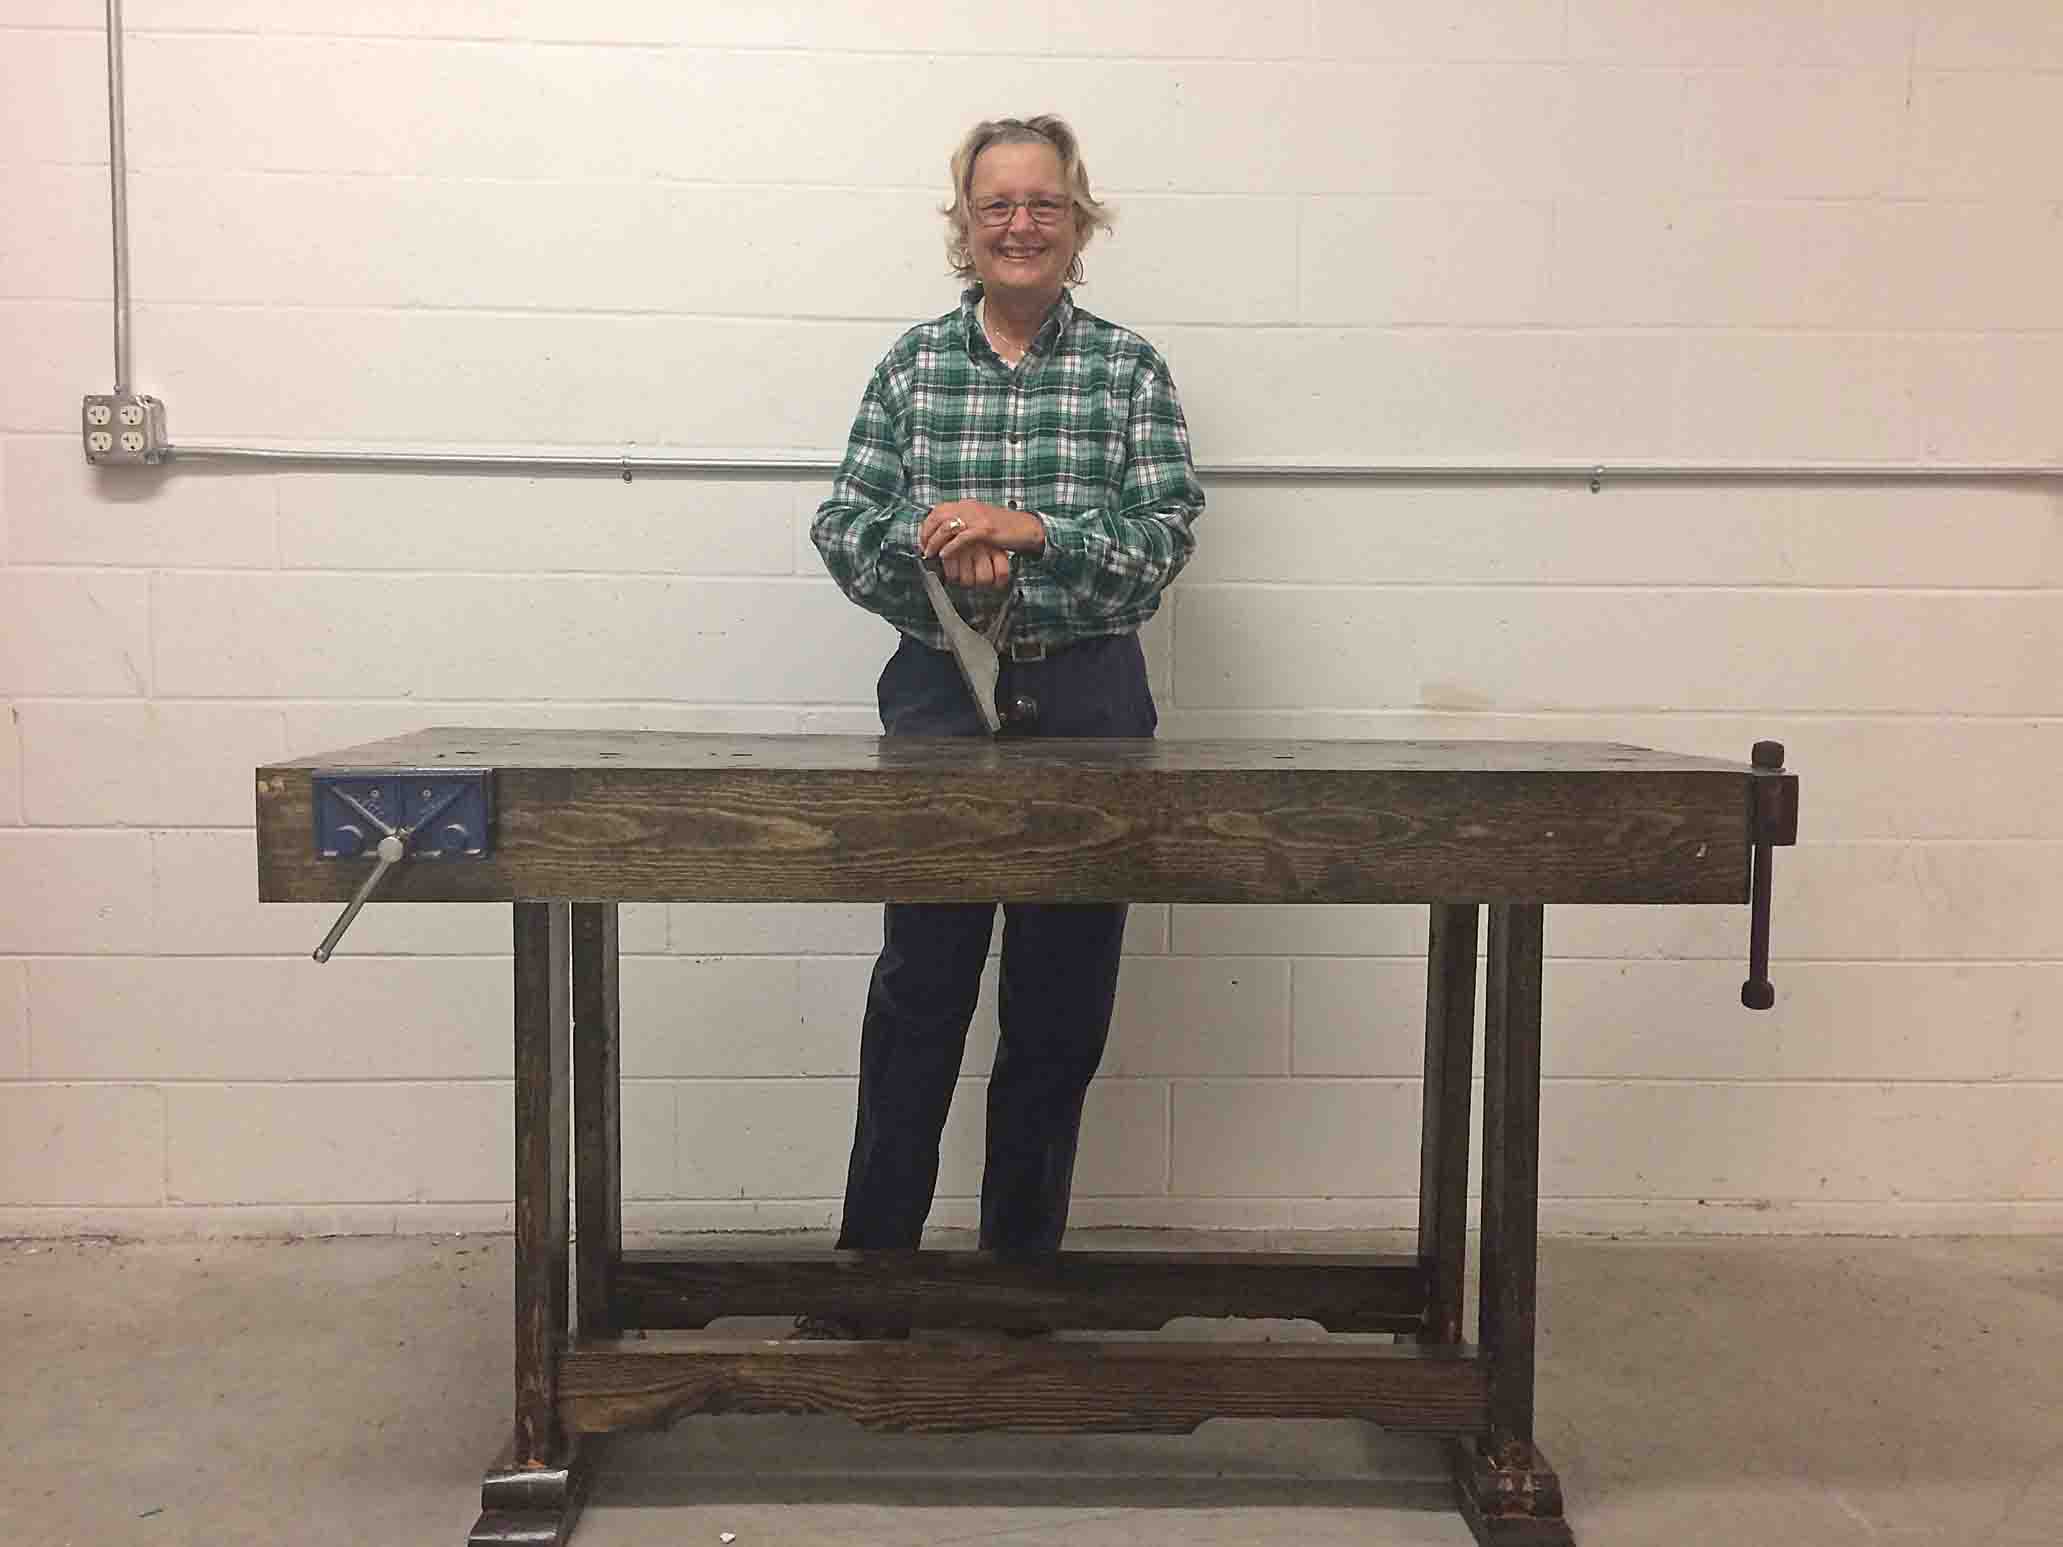
Here is Ms. Sharon Rivers smiling with the pride of having built this solid workbench herself, along with a close-up of the beautiful tail vice she built.
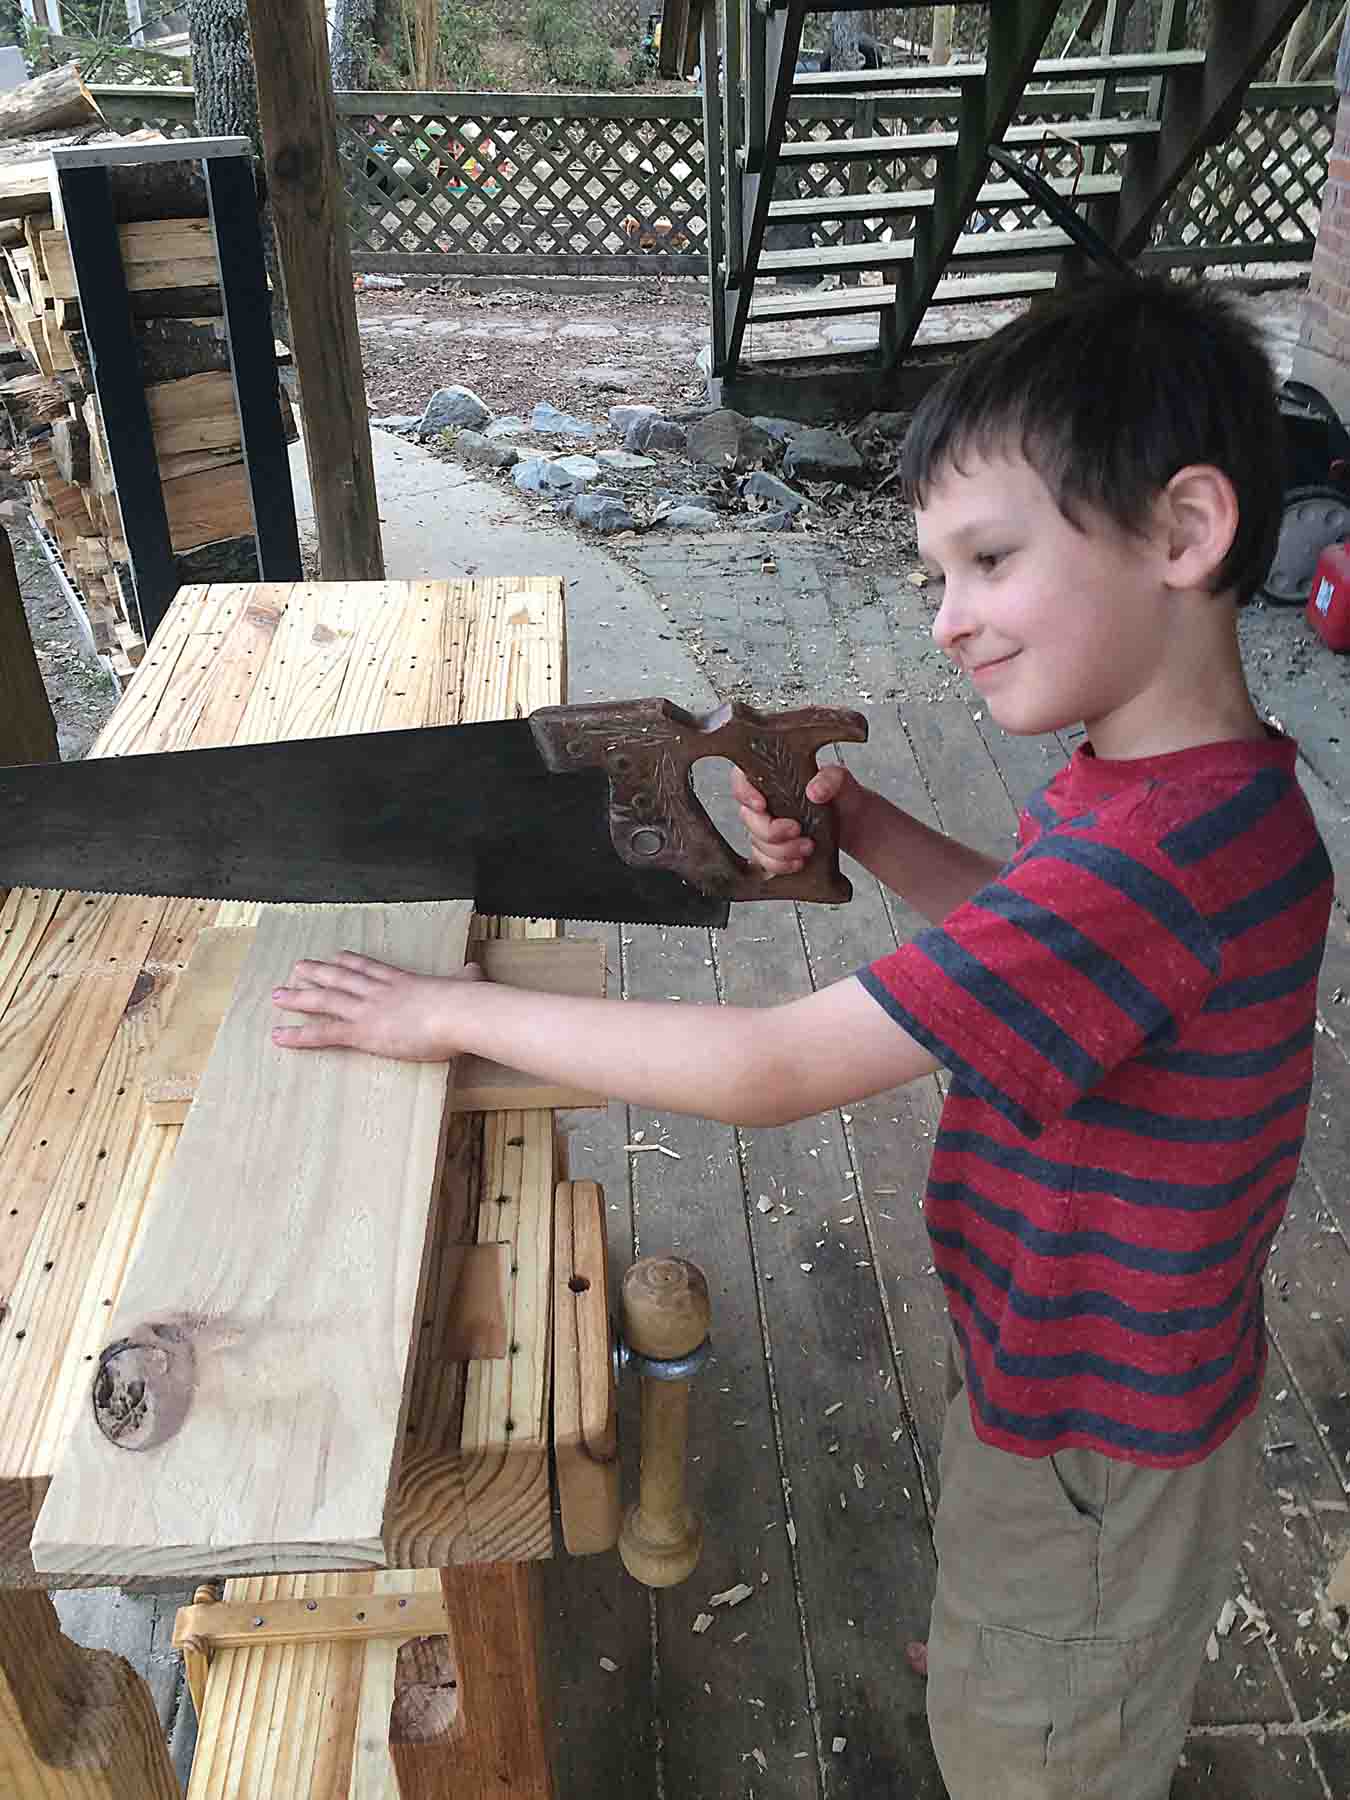
Here is young Mr. Frere Nunnery putting his bench through its paces and a close-up of his vice.